Natural Skincare 101- DIY Homemade Skincare ProductsFor a good portion of my life, I have struggled with keeping my skin in balance. In adolescence I was embarrassed by acne spots, occasional cystic acne and had dry flaking skin in other spots. I stripped my skin with harsh cleaners and chemical loaded treatments to deal with problem spots and oil-free moisturizers – thinking oils were bad for my skin. I thought that once I was in my 20s my acne and skin issues would be behind me. Unfortunately, that was not the case. That is when I began learning about Essential oils, plant oils, natural clays, herbs, and all their benefits for the skin. I began making my own skincare products and using natural clay masks to heal, moisturize, cleanse, and balance my skin. Now I am well into my 40s, I still experience hormone related breakouts and deal with age related skin concerns such as wrinkles and sun damage, but I am well equipped to treat my skins needs. Herbs and essential oils have skin-beneficial properties that you can utilizes for your skincare needs at home. These properties come in the form of flavonoids, tannins, mucilage, antioxidants, resins, acids, proteins, and volatile oils. Depending on the plant, they can originate in flower petals, leaves, bark, roots, or stems. In this post you will discover the benefits of simple, limited ingredient skin care products, and how to make and apply them at home. Incorporating natural yet effective products into your routine is an easy and attainable practice for healthy skin. For each product I have included recipes and suggestions for various skin types and conditions. You may simply use these recipes or customize your recipe using the ingredients listed according to their properties and your needs. I encourage you to get creative and try your hand at blending up your own recipes I am sure your results will be amazing! Always seek out organic, cold pressed ingredients for face and body applications. These recipes have about a 1 year shelf life but should provide about a 6 month supply of daily application. Skincare for All Skin Types Perfect for all skin types, a skincare regime using natural chemical free ingredients packed with antioxidants and vitamins can benefit various skincare needs. After use, your skin is balanced, nurtured and radiant. Your skin will feel soft and smooth to the touch. Also, your skin is primed for makeup during the day, and sleep at bedtime.
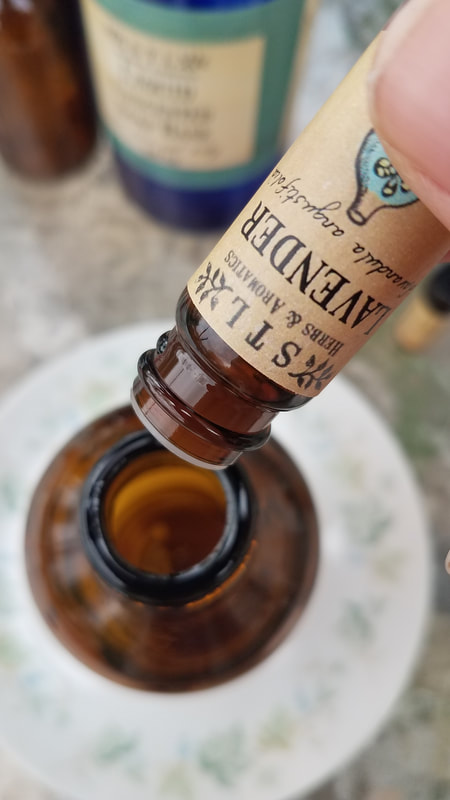
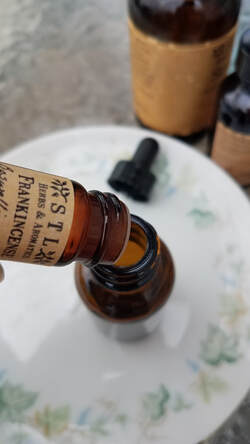
CARROT ESSENTIAL OIL daucus carota - cell regenerative, Wound Healing, Good For Mature Skin, Eczema, broken capillaries, scar tissue. antiaging. Avoid during pregnancy. CEDARWOOD (ATLAS) ESSENTIAL OIL cedrus atlantica- Acne, oily skin, Astringent action Causing contraction of the tissues, binding. Influences, the vital contractility of cell walls, condenses the tissues, making them denser and firmer, and arrests discharges, good for Psoriasis, softening to skin. Potentially irritating at high levels. CHAMOMILE (German & Roman) ESSENTIAL OIL - Antibacterial, Anti-inflammatory, Good for Acne, Eczema, Psoriasis, dry & itchy skin, wound healing, broken capillaries. Avoid during early pregnancy for Roman Chamomile only. CYPRESS ESSENTIAL OIL Cupressus sempervirens- Antiseptic, Astringent: Contracts, tightens and binds tissues, reducing secretions or discharges, stops bleeding, Acne, oily skin, wound healer, broken capillaries. Avoid during pregnancy. FRANKINCENSE ESSENTIAL OIL Boswellia carteri- Astringent: Contracts, tightens and binds tissues, reducing secretions or discharges., Regenerating, Wound Healing, Acne, ant inflammatory, mature skin, wrinkles, helping formation of scar tissue, Eczema, blackheads, soothes dry itchy skin, Encouraging growth of skin cells. Avoid during pregnancy. GERANIUM ESSENTIAL OIL pelargonium graveolens - Antibacterial, Astringent, Antiseptic, Balancing, Fungicide, stops bleeding, Wound Healing Good for Dry or Oily skin, Combination Skin, Acne, Eczema, Hormone related Skin issues, Itchy Skin, HELICHRYSUM ESSENTIAL OIL helichrysum italicum - Anti-inflammatory, Regenerating, Rejuvenating, helping formation of scar tissue, Encouraging growth of skin cells, Wound Healing, Good for Acne, Eczema, chronic dermatitis, burns, bruising, broken capillaries. LAVENDER ESSENTIAL OIL lavendula angustifolia - Anti-inflammatory, Antiseptic, Balancing, wound Healing, Good for dry or Oily skin, Combination skin, Acne, Eczema, Sunburn, Cystic acne, Regenerating, Helping formation of scar tissue. Encouraging growth of skin cells MYRRH ESSENTIAL OIL commiphora myrrha - Antibacterial, Anti-inflammatory, Antiseptic, Astringent, Balancing, Regenerating, Good for Wound Healing, Acne, Dry, Chapped Skin, Oily, Skin, anti-aging, broken capillaries, Eczema Avoid during pregnancy. PALMAROSA ESSENTIAL OIL Cymbopogon martini - Antibacterial, Anti-Fungal, Antiseptic, Cell regenerating, Good for Wound Healing, Acne, Dry Skin Mature Skin, Eczema, Wrinkles, broken Capillaries, Helping formation of scar tissue. Encouraging growth of skin cells. PATCHOULI ESSENTIAL OIL pogostemon cablin - Anti-inflammatory, Anti-bacterial, Antifungal, Astringent, Contracts, tightens and binds tissues, reducing secretions or discharges, Good for aging, sagging skin, itchy, inflamed skin, Acne, Chapped skin, Eczema, Wrinkles, Scars, Oily and congested skin. ROSE ABSOLUTE rosa damascena- Antibacterial, antifungal, antiseptic, Anti-inflammatory, Astringent, Contracts, tightens and binds tissues, reducing secretions or discharges, Regenerating, Good for broken capillaries, oily skin, mature skin, sensitive skin, Helping formation of scar tissue. Encouraging growth of skin cells. ROSEMARY (VERBENONE) ESSENTIAL OIL Rosmarinus officinalis ct verbenone – Antibacterial, Cell regenerative, Stimulating Good for Acne, scars, aging skin, Avoid during pregnancy or with epilepsy. TEA TREE ESSENTIAL OIL melaleuca alternifolia - Antibacterial, Antifungal, Anti-inflammatory, Antiseptic, Good for Acne, Oily skin, cystic acne Possible skin irritant.
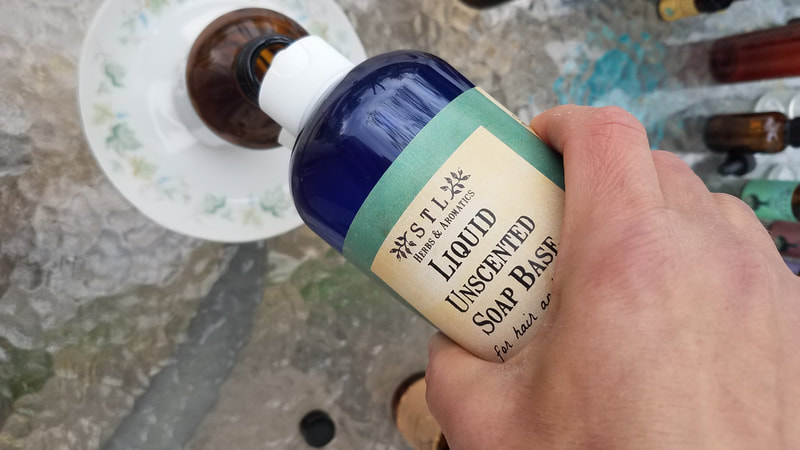
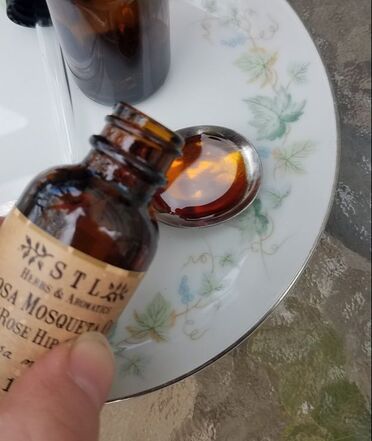
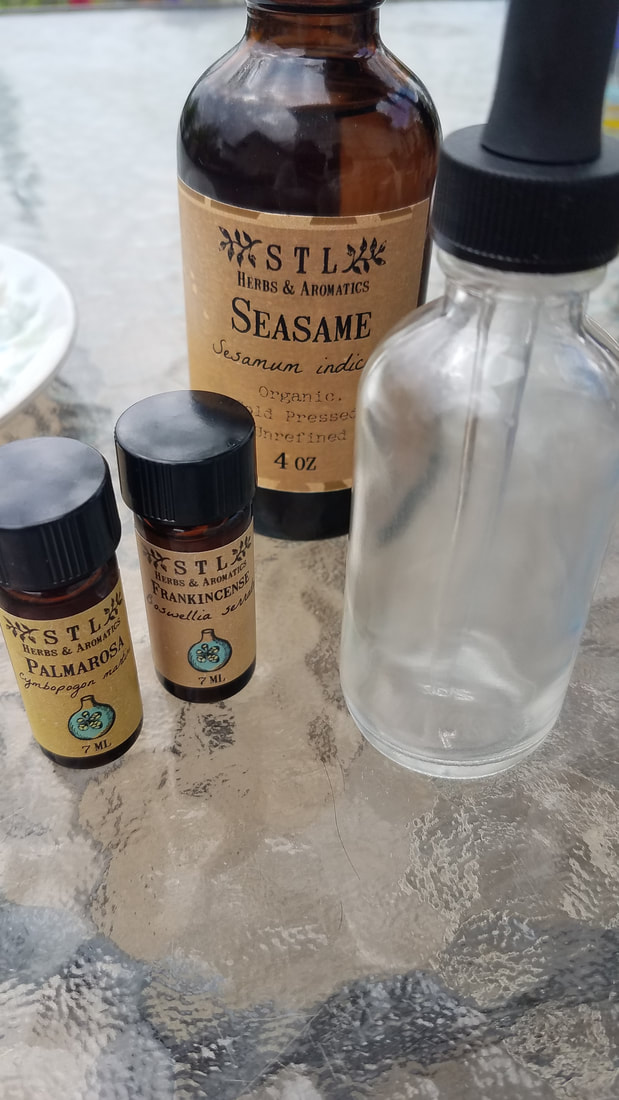
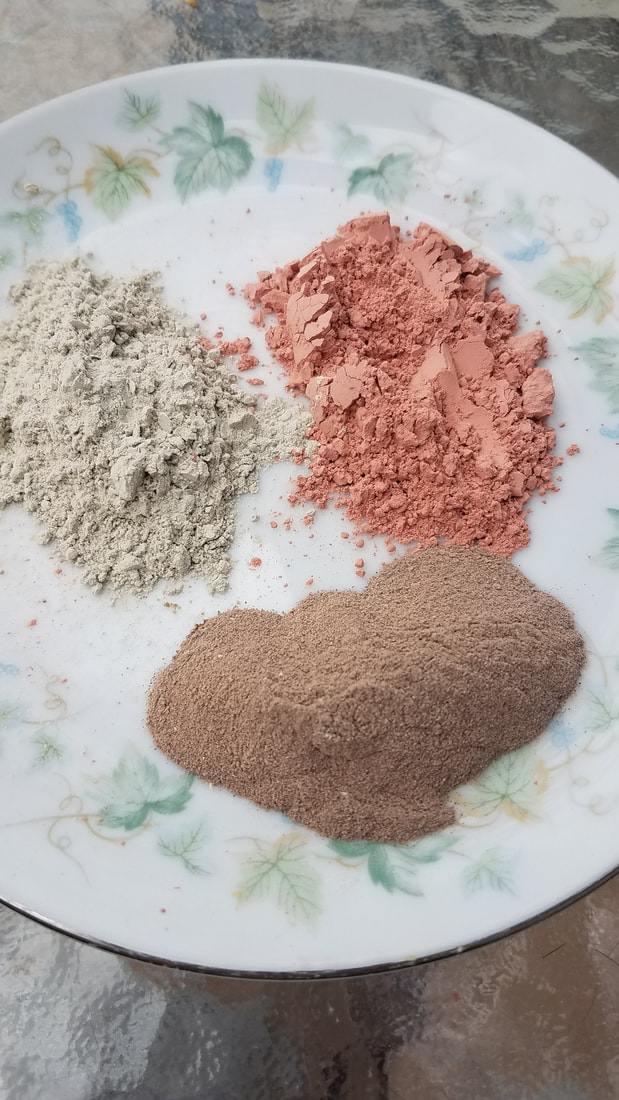
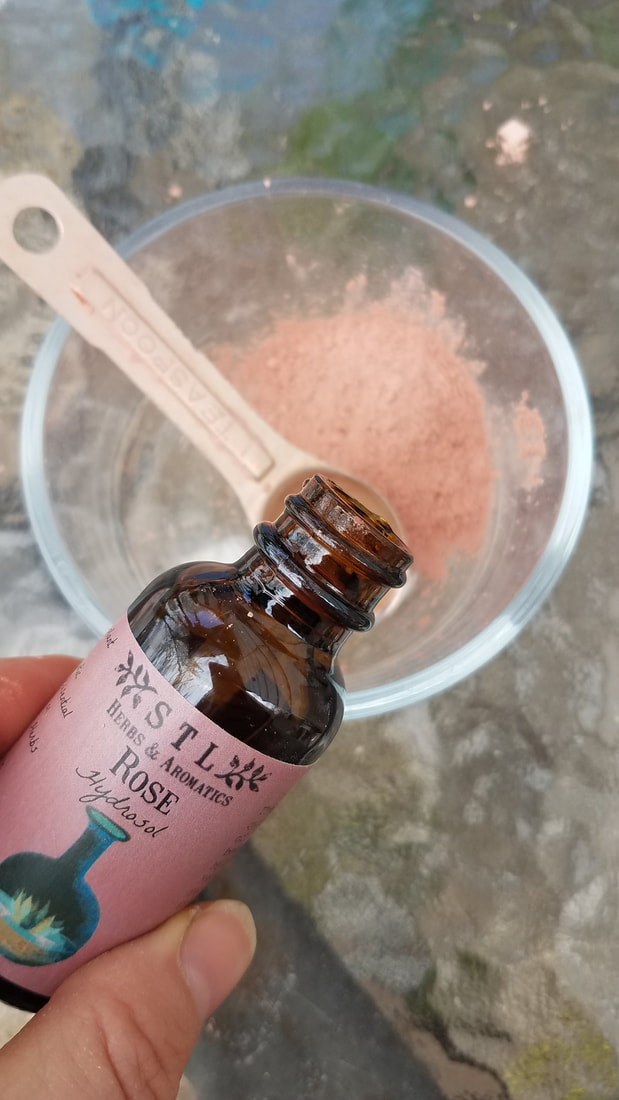
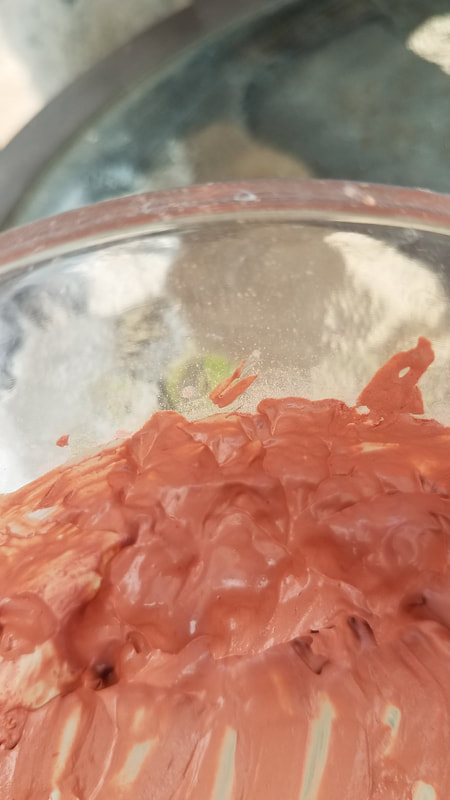
ALMOND OIL (SWEET) Light texture, all skin types, Itching, Dry skin, Inflammation, Burns, Thread veins, Chapped, Irritated skin APRICOT KERNEL OIL Light texture, all skin types, Dry & aging skin, prematurely aging skin, Sensitive skin, Inflammation, easily absorbed for facial applications AVOCADO OIL Heavy texture, usually mixed with other oils, all skin Types especially dry and dehydrated, Penetrating, Regenerative, highly therapeutic contains protein, amino acids, high levels of vitamins A, D and E. Mature & aging skin, Dry skin, Eczema, Improves elastin, Damaged skin, Wrinkles, natural sun protection, Eczema. JOJOBA OIL (Pronounced ho-ho-ba) Light texture; Anti-inflammatory, Mimics sebum, unclogs pores, Eczema, Psoriasis, all skin types, Acne, Dry skin Inflammation, easily absorbed. ROSA MOSQUETA OIL (ROSE HIP SEED) Usually added to other carriers at rate of 10-20%, Dry, scaly, dull skin, Psoriasis, Hyperpigmentation, beneficial in tissue regeneration, Scars, Aging, mature, prematurely aged skin, Wounds, Burns (including sunburn), Facial wrinkles, "crow’s feet", Stretch marks. SESAME OIL Medium texture, all skin types, Psoriasis, Eczema, Natural Sun Protection, Softening, Dry skin, sensitive skin, antiaging TAMANU OIL Medium texture, Promotes formation of new tissues, Acne, Acne scars, Sunburn, Dry skin, eczema, Antioxidant, Antiaging. 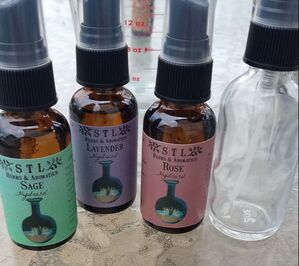 A Hydrosol is the water left behind after extracting an essential oil from a plant through water/steam distillation. Hydrosols contain the water-soluble constituents of the plant and retain small amounts of essential oil. Hydrosols have similar properties to essential oils but are much less concentrated and gentler on the skin. LAVENDER HYDROSOL – Anti-Inflammatory, reduces swelling and inflammation, Good for Acne, Eczema, Itchy skin, aging skin, sunburn, Helping formation of scar tissue. Encouraging growth of skin cells, Wound Healing LEMON BALM HYDROSOL- Anti-inflammatory, Antiseptic, antifungal, Acne, Oily skin, Eczema ROSE HYDROSOL- Anti-inflammatory, Astringent, Contracts, tightens, and binds tissues, reducing secretions or discharges, Regenerating Helping formation of scar tissue, Encouraging growth of skin cells Sensitive skin, Acne, Mature skin, Combination skin, ROSEMARY (VERBENONE) HYDROSOL – Stimulating, scars, antiaging, Acne. SAGE HYDROSOL Astringent Causing contraction of the tissues, binding. Influences, the vital contractility of cell walls, condenses the tissues, making them denser and firmer, and arrests discharges. Acne YARROW HYDROSOL - Anti-inflammatory, reduces swelling and inflammation, Acne, Eczema, Regenerating, Wound Healing, aging skin, Encouraging growth of skin cells. Other Useful ingredients ALOE VERA GEL Aloe barbadensis Promotes healing and skin cell renewal, natural anti-inflammatory & moisturizer. APPLE CIDER VINEGAR - Restores the natural acid balance and neutralizes the alkalinity of soap for skin. Acts as an astringent on the skin causing contraction of the tissues, binding. Influences, the vital contractility of cell walls, condenses the tissues, making them denser and firmer, and arrests discharges. CLAY is one of earth's oldest known skin cleansers. Its high mineral content, drawing powers and corrective properties make it useful for treating problem skin as well as superior deep cleaning. Excellent for blackheads and clogged pores. HONEY General skin care and to help with more serious conditions such as eczema, Bacteria cannot live in honey, Natural preservative properties, naturally acid-balanced, neutral on the skin, hydrating UNSCENTED LIQUID SOAP BASE Gentle and effective with proven mildness Free of sulfates, preservatives, and consists of the most simple, natural, biodegradable ingredients.  Always use clean sterilized bottles and jars to mix and store your facial care products. Glass containers are preferable and a simple label stating what the product is and when you created it affixed to the bottle is always helpful. Small funnels and measuring cups with a spout are helpful when transferring ingredients from one bottle to another. Step 1: Cleanse This is a gentle cleanser leaves your skin soft, smooth, clean, and nourished. You just need liquid Unscented liquid soap base, essential oils, and carrier oils. The best part is you can customize the essential oils and carrier oil in this recipe according to your skin type. This face wash does not contain any harsh ingredients, so it is perfect for all skin types. Blemishes and Oily skin: 8 drops Tea Tree essential oil, 4 drops Cedarwood essential Oil, 4 drops Lavender essential oil, 4 drops Geranium essential oil, 2 teaspoons Jojoba oil Anti-Aging/ scars: 5 drops Frankincense Essential Oil, 5 drops Carrot essential oil, 10 drops Palmarosa essential oil,1 teaspoon Rosa Mosqueta oil, 1 teaspoon Seasme oil Combination skin: 5 drops Geranium essential oil,10 drops Lavender essential oil, 5 drops Myrrh essential oil, 2 teaspoons Almond oil Dry skin: 5 drops Myrrh essential oil, 5 drops Chamomile essential oil, 5 drops Lavender essential oil, 5 drops Palmarosa essential oil 1 teaspoons Apricot oil, 1 teaspoon Avocado oil Sensitive skin: 8 drops Chamomile essential oil, 10 drops Lavender essential oil, 2 drops Rose absolute, 1 teaspoons Sesame oil FACIAL CLEANSER In an 8 oz bottle: 1) 1 to 2 teaspoons Vegetable/Nut Oil or Infused Oil of your choice 2) Add 20 drops (maximum) Essential Oils of your choice, choose one or more but use only 20 drops total of essential oil, shake essential oil and vegetable oil together first 3) Fill rest of bottle with Unscented Liquid soap base, shake well Step 2: Tone A facial toner is a quick, absorbing liquid that helps to remove excess dirt, traces of oil and makeup, correct and balance the pH of your skin, and control acne, minimizing the look of pores and preparing the skin to receive the serums and moisturizers to come. Your Homemade Facial Toner can be customized to your skin type with Hydrosol, giving you that natural glow you have been looking for! Apple Cider Vinegar (ACV) helps to regulate the pH balance of the skin, can be used for all skin types, is antibacterial and has anti-inflammatory properties. For oily and acne-prone skin, ACV helps to treat acne and reduce redness. For dry and normal skin, ACV helps to exfoliate skin and reduce wrinkles. For normal to dry skin: Mix 1/3-part vinegar to 2/3-part Hydrosol of your choice. For oily and acne-prone skin: mix 1/2-part vinegar and 1/2 Hydrosol. Blemishes and Oily skin: 2 Tablespoons Lemon Balm hydrosol, 1 Tablespoon Sage Hydrosol, 1 Tablespoon Yarrow Hydrosol, 4 Tablespoons Apple cider Vinegar Anti-Aging/ scars: 3 Tablespoons Rose Hydrosol, 2 Tablespoons Rosemary Hydrosol, 3 tablespoons Apple Cider Vinegar Combination skin: 5 Tablespoons Lavender Hydrosol, 3 Tablespoons Apple Cider Vinegar Dry skin/ Sensitive skin: 3 Tablespoons Lavender Hydrosol, 2 Tablespoons Rose Hydrosol, 3 Tablespoons Apple Cider Vinegar TONER OR AFTERSHAVE 2 oz Recipe In a 2 oz Glass bottle
Step 3: Serum A facial Serum is concentrated, balancing, targeted skincare treatment that soothes and nourishes skin providing fast absorbing, concentrated ingredients to create beautiful, glowing skin. Apply your Homemade Serum after cleansing but before moisturizing. The most common benefits include hydration, increased nourishment, brightening of the skin, and acne prevention. They also help in strengthening skin cells. Serums help balance and rejuvenate.
Blemishes and Oily skin: 10 drops Chamomile essential oil, 10 drops Myrrh essential oil, 5 drops Geranium essential oil, 1 oz Jojoba oil Anti-Aging/ scars: 2 teaspoons Rosa Mosqueta Oil, 2 teaspoons Avocado oil, 1 teaspoon Tamanu oil, 5 drops Frankincense essential oil, 5 drops Carrot essential oil, 5 drops Lavender essential oil, 5 drops Helchrysum essential oil, 2 drops Rose or Geranium Dry skin/ Sensitive skin: 5 drops Myrrh Essential oil,5 drops Palmarosa essential oil, 10 drops Chamomile essential oil, 2 teaspoons Avocado oil, 3 teaspoons Apricot oil Combination skin: 10 drops Frankincense essential oil, 8 drops Lavender essential oil, 5 drops Geranium Essential oil 3 teaspoons Almond Oil, 3 teaspoons Jojoba Oil Facial Serum 1 oz Recipe
3. Use your Facial Serum morning and night. Apply a few drops a gentle massage into the entire face and neck after you wash your face but before you apply moisturizer.  Step 4: Moisturize Facial Oil as moisturizer maybe a new concept for you but let me just say oil is NOT the bad guy. In fact, our skin needs oil and absorbs it better and faster than a cream or lotion. Using a facial oil helps keep moisture in the skin while protecting it from the environmental damage. Finding the right carrier oil that works for you is the key. You can add essential oils according to your skin type for a customized blend. Every face (neck and chest, too) needs a moisturizer on a daily basis. Moisturizers’ primary function is to help keep all the nourishing oils from your serum on your skin. Blemishes and Oily skin: 10 drops Chamomile essential oil, 5 drops Cypress essential oil, 5 drops Tea Tree essential oil, 3 drops Geranium essential oil, Jojoba oil Anti-Aging/ scars: 15 drops Frankincense essential oil, 5drops drops Helichrysum essential oil, 2 drops Rose absolute, Apricot oil Dry skin/ Sensitive skin: 15 drops Palmarosa essential oil, 10 drops Chamomile essential oil, Apricot oil Combination skin: 10 drops Frankincense essential oil, 15 drops Lavender essential oil, Jojoba Oil 2oz Facial Oil Moisturizer Instructions in a 2 oz glass dropper bottle
Once you start making and using your own Homemade Skincare products your skin will look and feel amazing. Your heart can feel good about taking the initiative to make your own Natural Chemical free skincare products. These products are all paraben, sulfate, phthalate free. They are also free from petrochemicals, fillers, formaldehyde-releasing ingredients, propellants, or synthetic fragrance oils. All of ingredients are non-toxic. That is something to feel good about all while nourishing your skin!
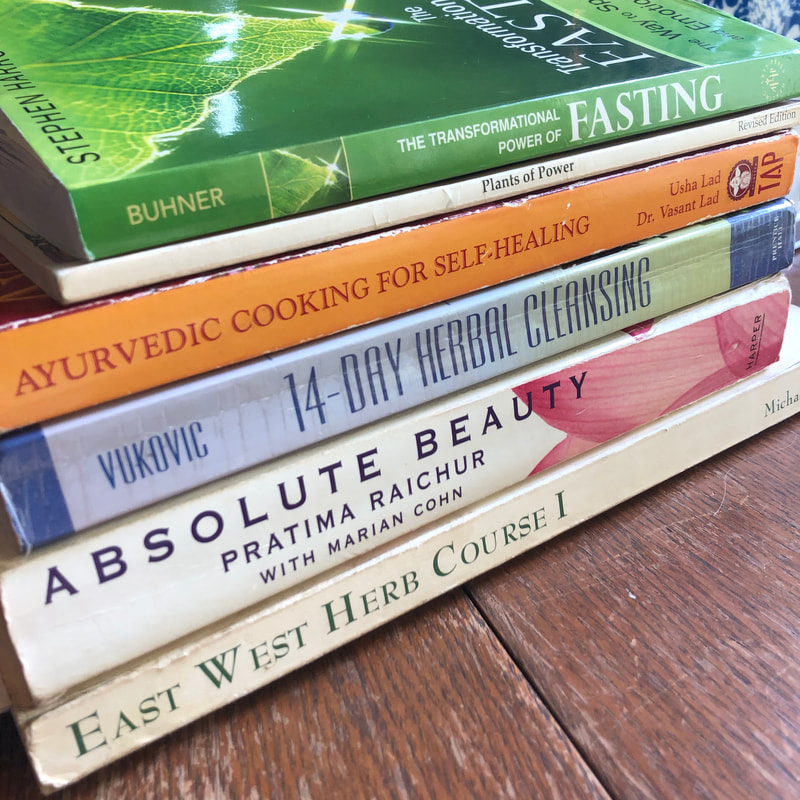
REFERENCES: Battaglia, Salvatore. The Complete Guide to Aromatherapy. Virginia, Queensland: The Perfect Potion. 1995. Catty, Suzanne. Hydrosols, The Next Aromatherapy. Rochester, Vermont: Healing Arts Press. 2001. Davis, Patricia. Aromatherapy an A - Z. Saffron Walden: The C. W. Daniel Company Ltd. 1998. Hampton, Aubrey. What’s in Your Cosmetics?. Tucson, Arizona: Odonian Press. 1995. Meadows, Julia. Natural Bodycare. New York: Sterling Publishing Co. Inc. 1998. Rose, Jeanne. Jeanne Rose's Herbal Body Book. New York: The Berkley Publishing Group. 1976. Rose, Jeanne. Jeanne Rose’s Kitchen Cosmetics. Berkeley, California: North Atlantic Books. 1990. Sheppard-Hanger, Sylla. The Aromatherapy Practitioner Reference Manual, Vol. 1, Vol. 2. Tampa: Atlantic Institute of Aromatherapy. 1997. Price, Shirley. The Aromatherapy Workbook. San Francisco: Thorsons. 1993.
6 Comments
March has me thinking about Spring cleaning and planting seeds of a healthier future. I am trying to downsize my clutter and the nicer temperatures have allowed me to air out the house a bit. The troubles of our time are bleak. I keep trying to envision what a healthy world looks like. One that includes a healthy planet for my future grandchildren. Modern psychology has proven that when we envision a desired result it is more likely to manifest so I will continue to spend time meditating on what this healthy society looks like. I believe these times are a call to action. We need to consciously make healthier choices. Many years ago I decided to stop purchasing harmful chemical cleaners. I adopted a way of cleaning and disinfecting my house with all-natural ingredients that are cheap and easy to find. This method of cleaning does not include any harmful chemicals and is better for our water system and our physical health. Below I have a list of ingredients and some recipes I use regularly in my household cleaning. I also have included information on several essential oils that have been proven to have anti-microbial activity. These oils and can be added to your natural cleaners for their cleansing effect and pleasant aroma. Ingredients:
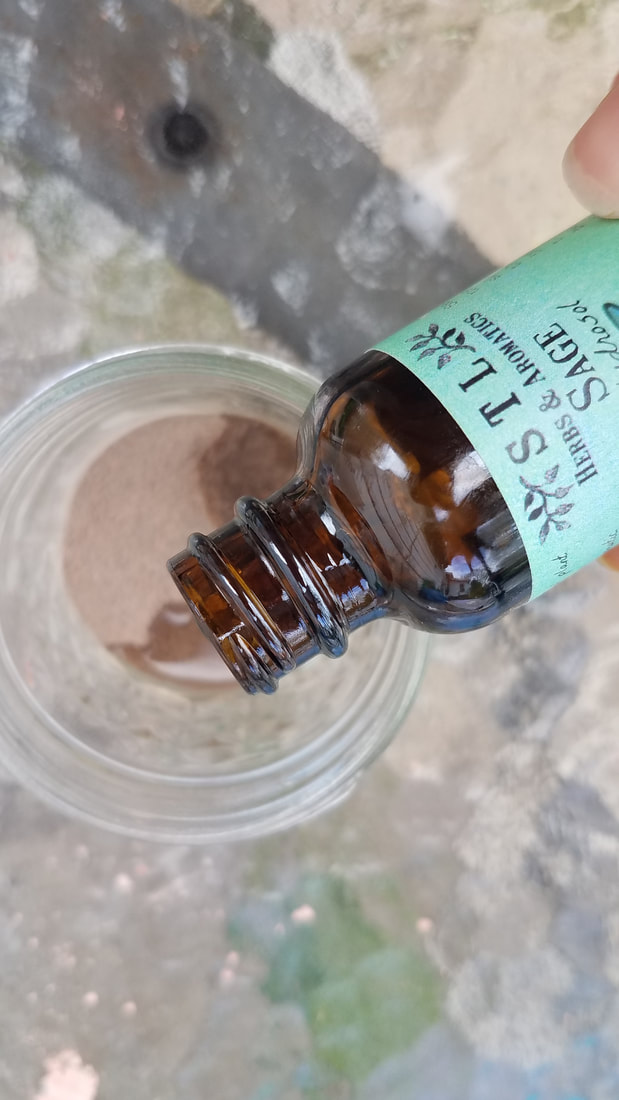
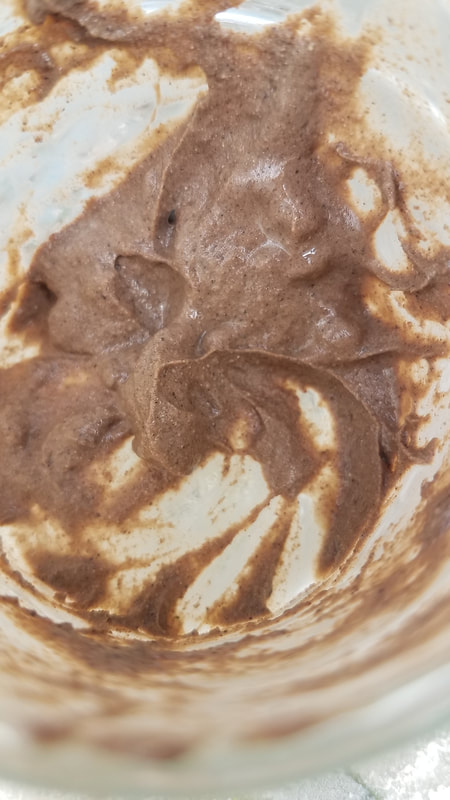
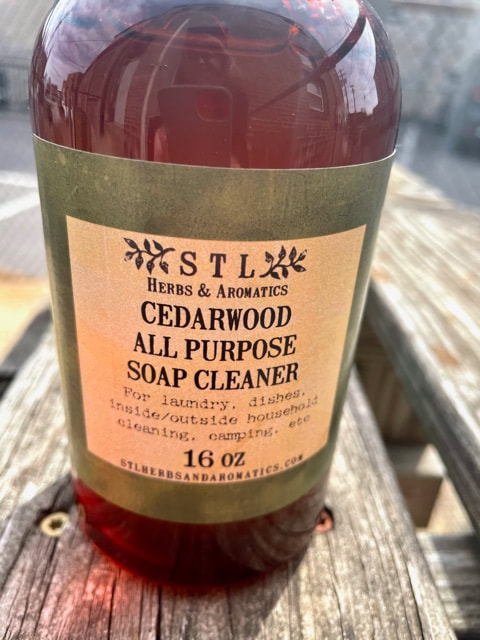
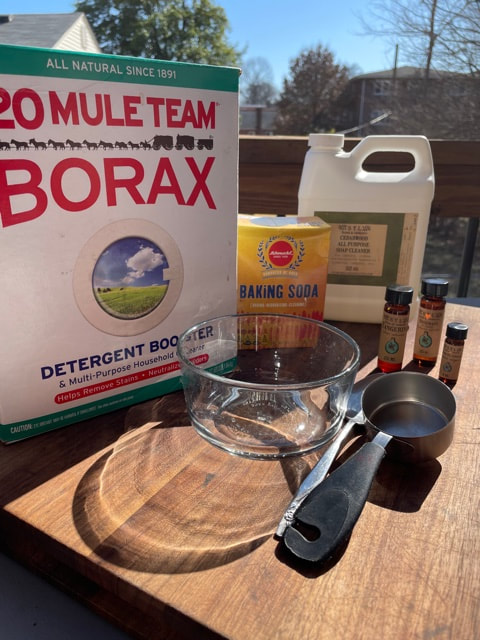
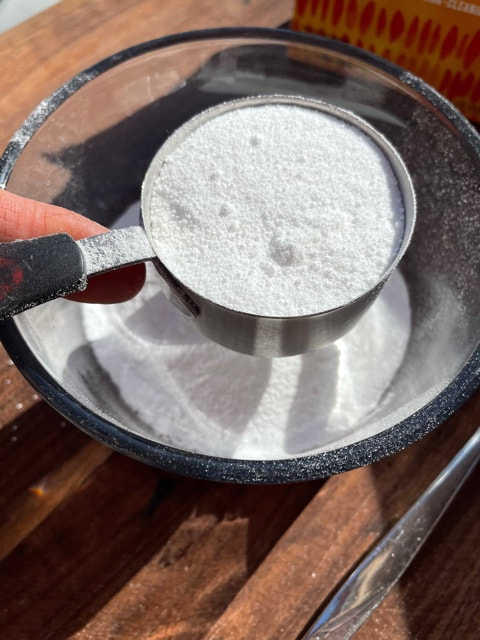
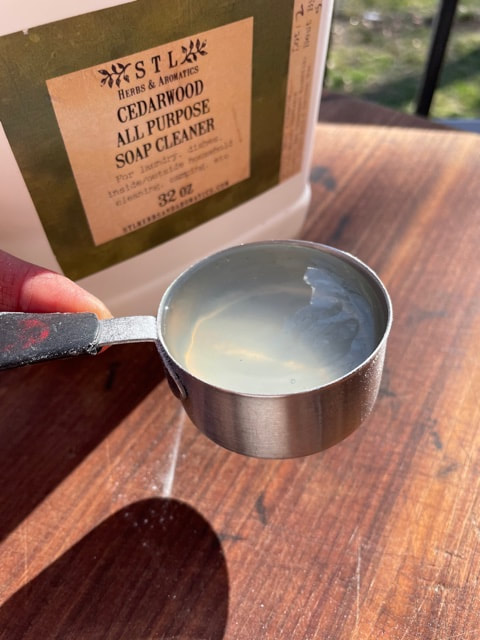
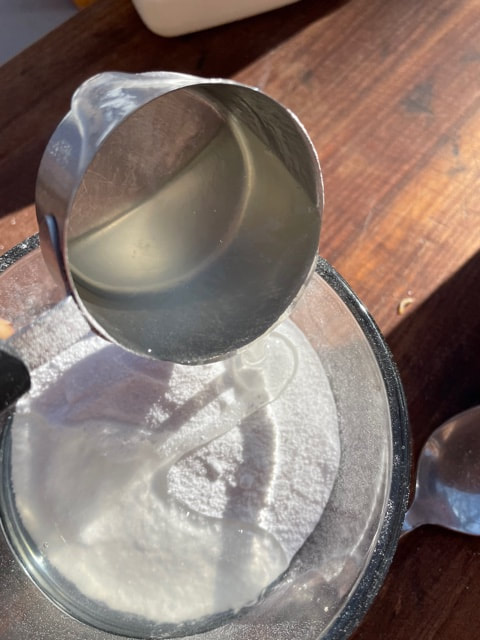
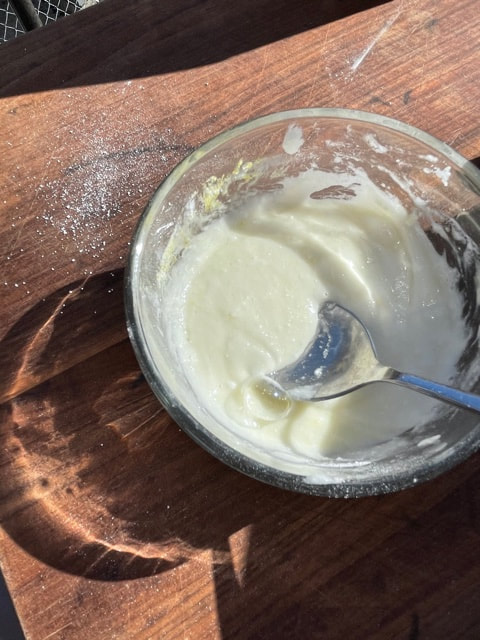
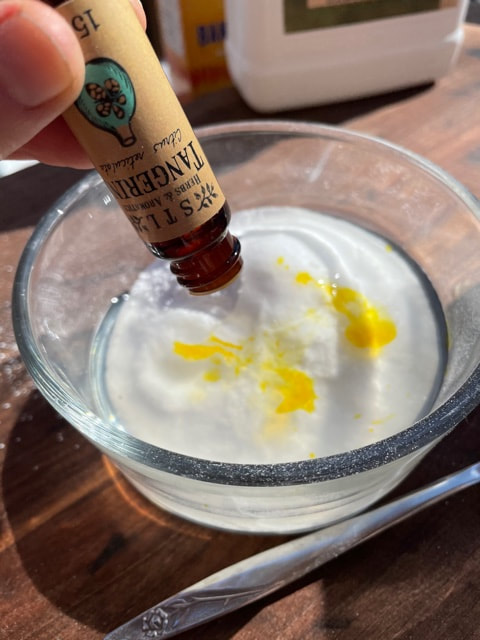
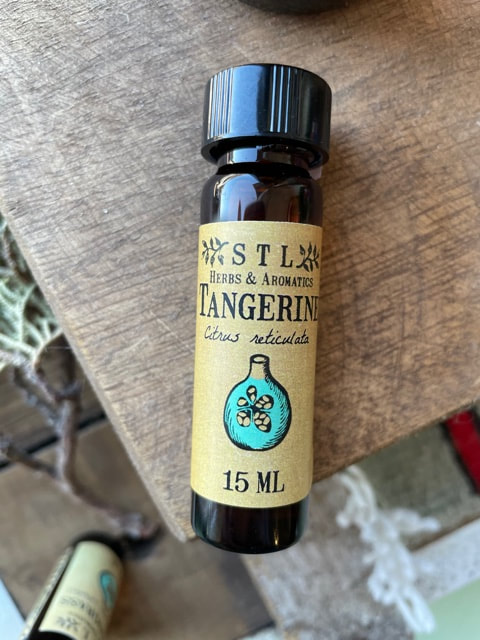
Recipes:Sunshiny Day Liquid Soap: This liquid soap can be used for the majority of your household needs. For laundry I use 1/4th cup. Add directly in with the clothing regardless if you have a top loading or high efficiency washing machine. 8 oz STL Herbs and Aromatics Liquid Unscented Soap 1/4th tsp. Tangerine Essential Oil Directions Add the Essential Oil to the liquid soap and shake gently to combine. Scrubbing Paste Recipe: This scrubbing Paste recipe comes together quickly and stores well in a sealed container for 2-4 weeks. I use this scouring paste for my tub and shower walls. It is great for soap scum and mildew. It even seems to lighten and brighten. ¼ cup Baking Soda ¼ cup Borax ¼ cup STL Herbs and Aromatics Cedarwood All Purpose Soap Cleaner Directions Mix all ingredients together and stir well. Store in an airtight container. Apply to the surface and scrub. Rinse thoroughly with hot water.
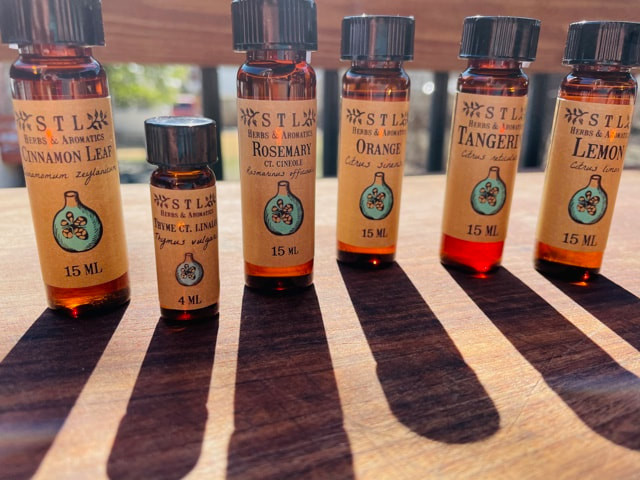
Scouring Powder Recipe: This is a great recipe for toilets, tubs and sinks. Slightly moisten surface first, sprinkle powder on area, scrub, and rinse off. 1/2th cup Baking Soda 1/2th cup Borax 15 drops Rosemary Essential Oil 15 drops Lemon Essential oil 15 drops Tangerine Essential Oil Essential oils are optional but you could add a few drops or as much as a ½ teaspoon Directions Mix all ingredients together and stir well especially if you are adding essential oil. Keep in an airtight container. Multi Purpose Spray Cleaner Recipe: This is a spray and wipe cleaner. Non-sudsy, no streaks and appropriate for cleaning glass, porcelain, metal, plastic and laminated wood surfaces. To be certain that there will be no discoloration, test spray on small hidden area first. SHAKE BEFORE EACH USE. 8 oz Vodka 20 drops Cinnamon Leaf Essential Oil 20 Drops Lemongrass Essential Oil Essential oils are optional but you could add a few drops or as much as a 1/4th teaspoon Directions In 8oz spray bottle add essential oils first and shake to mix before adding Vodka to fill bottle. Shake to mix thoroughly. The oil will separate so it is important to shake before each use. Essential Oils For Cleaning:
REFERENCES:
Hampton, Aubrey. What’s in Your Cosmetics?. Tucson, Arizona: Odonian Press. 1995. Hollender, Jeffrey, David,Geoff , Hollender, Meika and Doyle, Reed. Naturally Clean. Gabriola Island, BC, Canada: New Society Publishers. 2006. Imus, Deirdre. Green This!. New York: Simon & Schuster. 2007. Morgan, Barbara J., et al Ed. Home Made Best Made, Pleasantville, New York: The Reader's Digest Association, Inc. 1998. Oster, Maggie. Herbal Vinegar. Pownal, Vermont: Storey Books. 1994. Schnaubelt, Kurt. Advanced Aromatherapy. Rochester, Vermont: Healing Arts Press. 1998. Sheppard-Hanger, Sylla. The Aromatherapy Practitioner Reference Manual, Vol. 1, Vol. 2. Tampa: Atlantic Institute of Aromatherapy. 1997. Tisserand, Robert and Balacs, Tony. Essential Oil Safety. Edinburgh: Churchill Livingstone. 1995. Watt, Martin. Plant Aromatics. Tampa, Florida: The Atlantic Institute of Aromatherapy. 1995. 
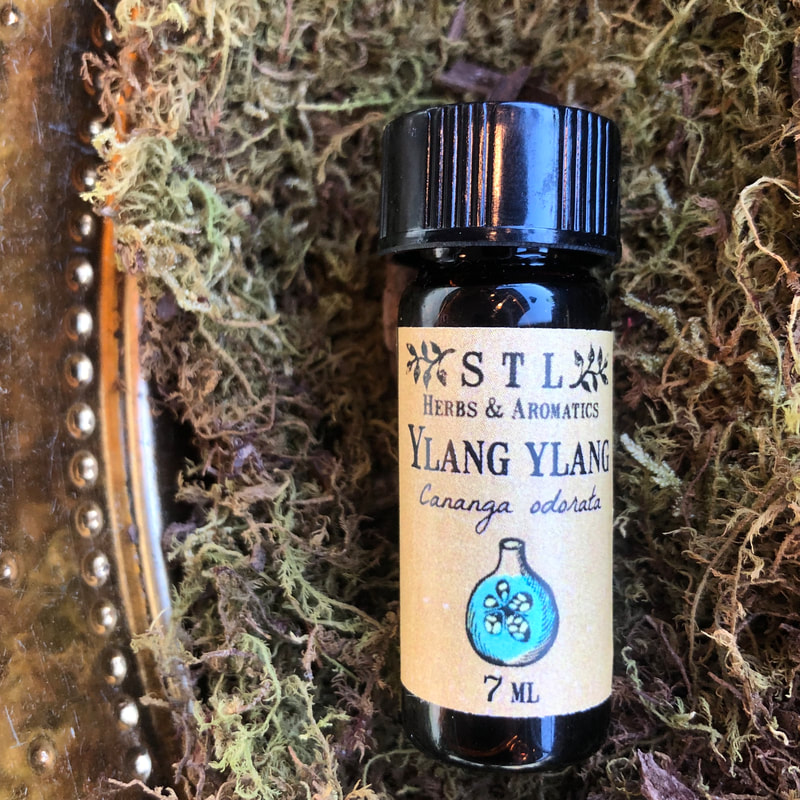
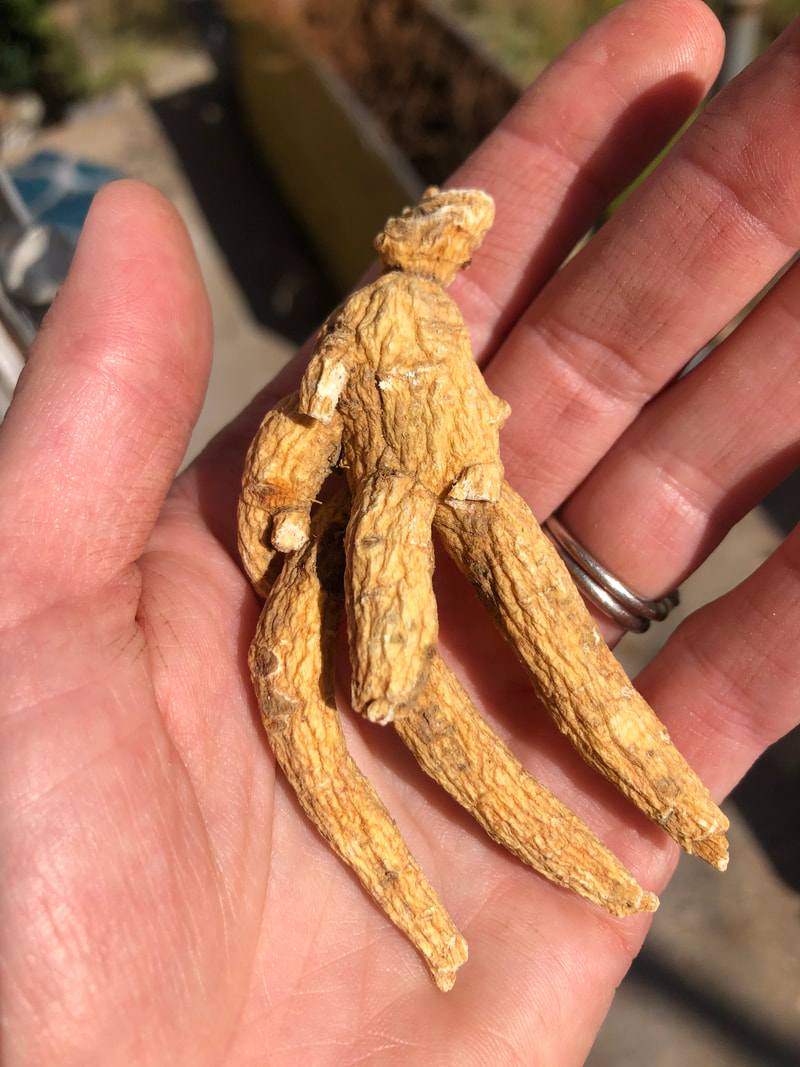
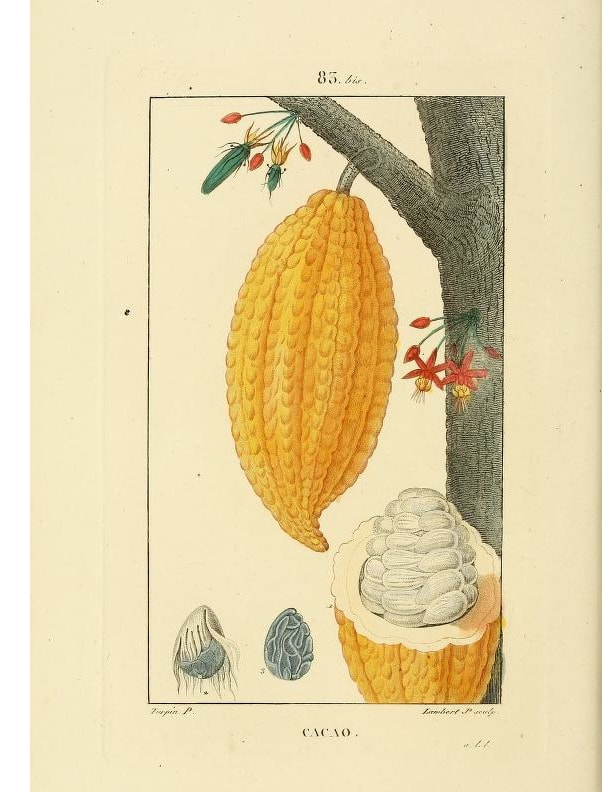
Scents are categorized as base, middle and top notes. This refers to their characteristics as well as there evaporation, or dry out rate. When creating a mixture it a good idea to include top, middle, and base note oils to create a harmonious chord. Sample Massage Oil: # of drops Cardamon (Top) 7 Ylang ylang (Middle) 3 Patchouli (Base) 5 Total drops = 15 Add your essential oils to a bottle one drop at a time and shake Add: 1 ounce Jojoba Oil and shake well to incorporate. Scent is just one method for experiencing these chemical messengers. Topical application, herbal teas, extracts, herbal wines and cordials are all ways of absorbing these plants and their wonderful effects. For example, a massage oil containing essential oils when applied infuses these tiny molecules into our blood and easily circulates through what is known as the “blood brain barrier” where they impart their effects. When ingested, these chemical constituents are also absorbed into the blood. Lets explore some herbs that are known to elicit arousal.
 We cannot run from the destruction we are causing. It is, and will continue to affect our species health if we do not cc
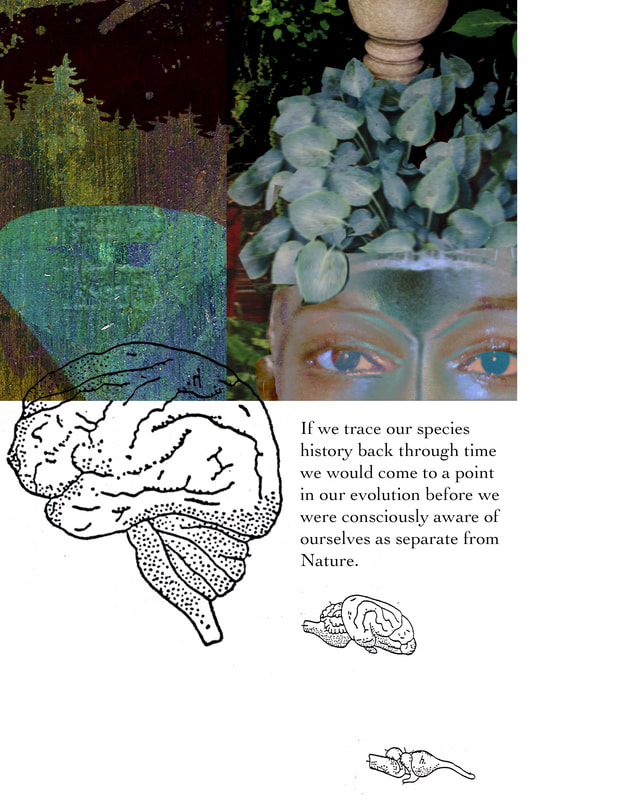
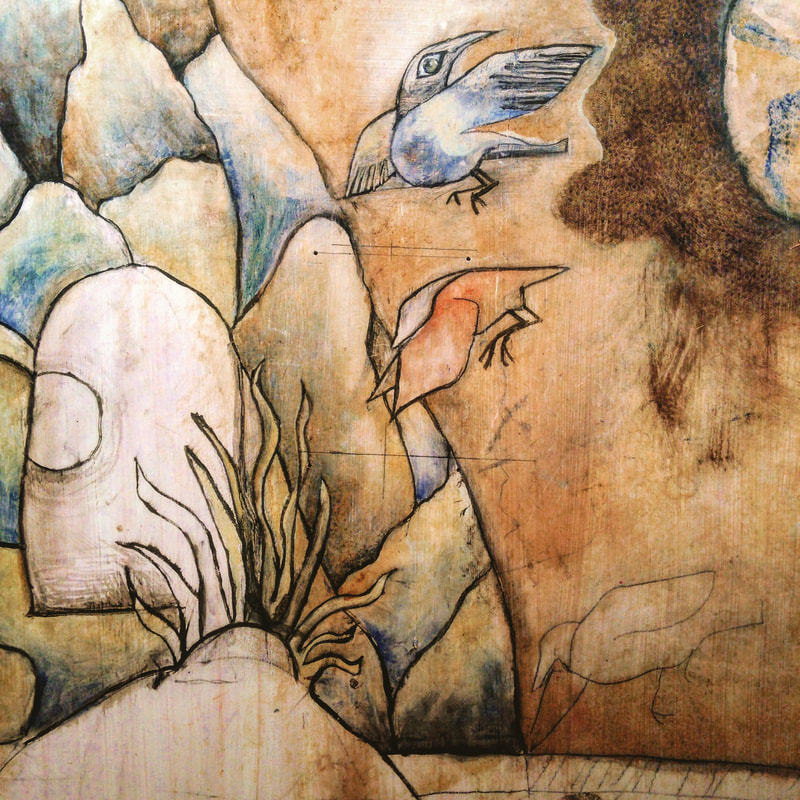
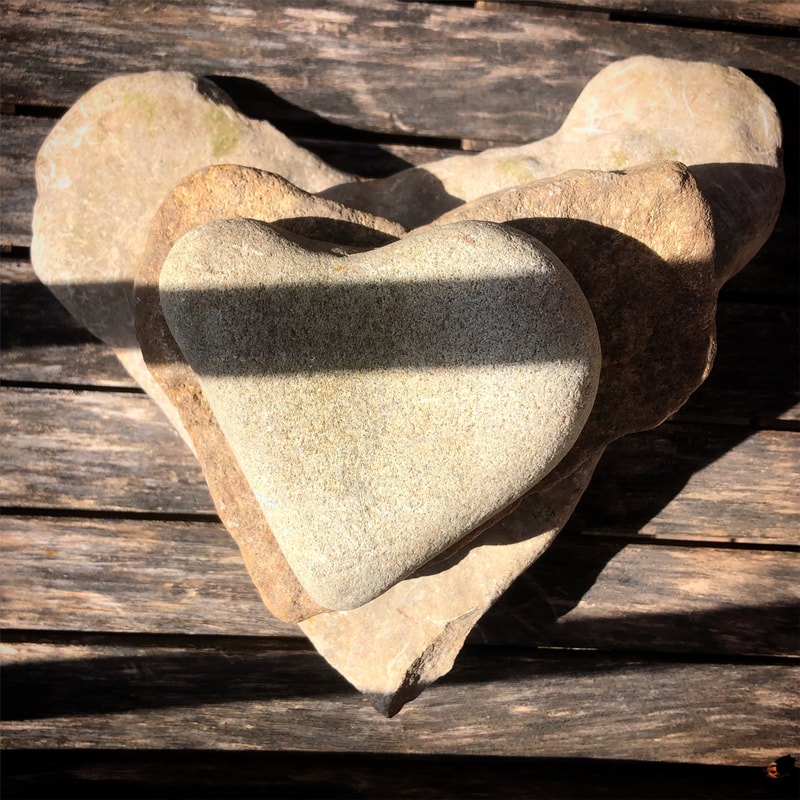
I believe we need to disconnect so we can begin to redevelop the ability to directly perceive the spirit of the Earth and her creatures. We need to regain reverence to nature. We need to detoxify from our culture and clear the scars from our hearts. We need to reconnect to our energy and the energy that sustains us in actuality ... our Earth. I believe Western culture needs to develop Direct Revelation of the Spirituality of Nature. Open ourselves up to the possibility that the way things will change is by directing love toward our beautiful Earth and consciously directing love to our heart and soul. We need to cry for a vision of a healthier future. Carl Jung warned that if we did not explore and nourish the psyche, we would not survive as a civilization. Our soul has a purpose. It has a medicine for humanity and it is your job to shine your light. The light we shine into the world needs to live in accordance with our inner truth but this truth has become clouded by our cultural conditioning. We all so often have been encouraged away from the direction our heart and soul beckoned to us. This has caused soul loss. By being stripped of our connection to our soul we rely on our culture too much to dictate what we should be doing.
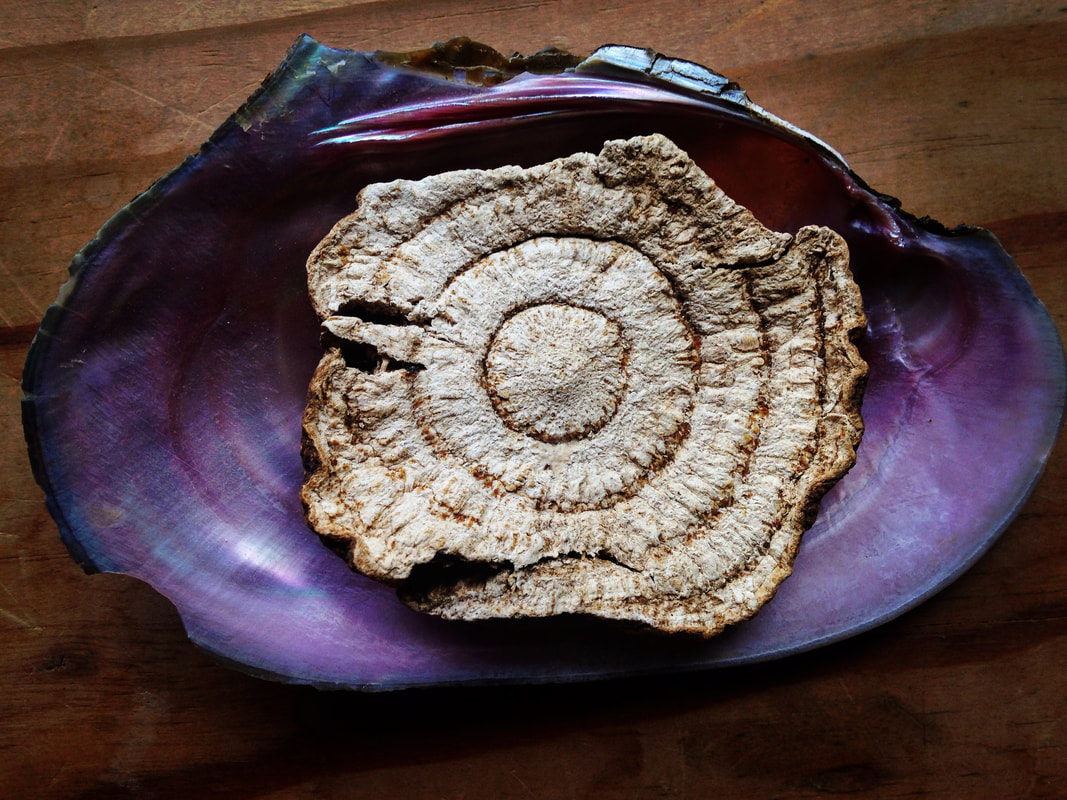
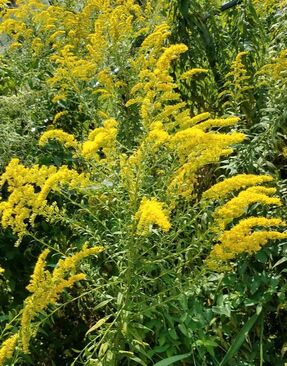
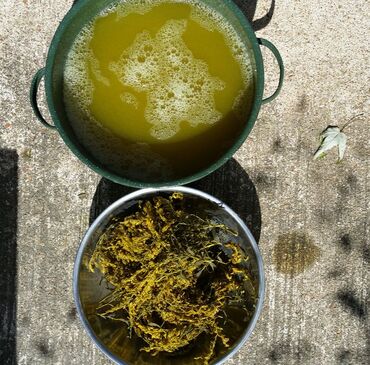
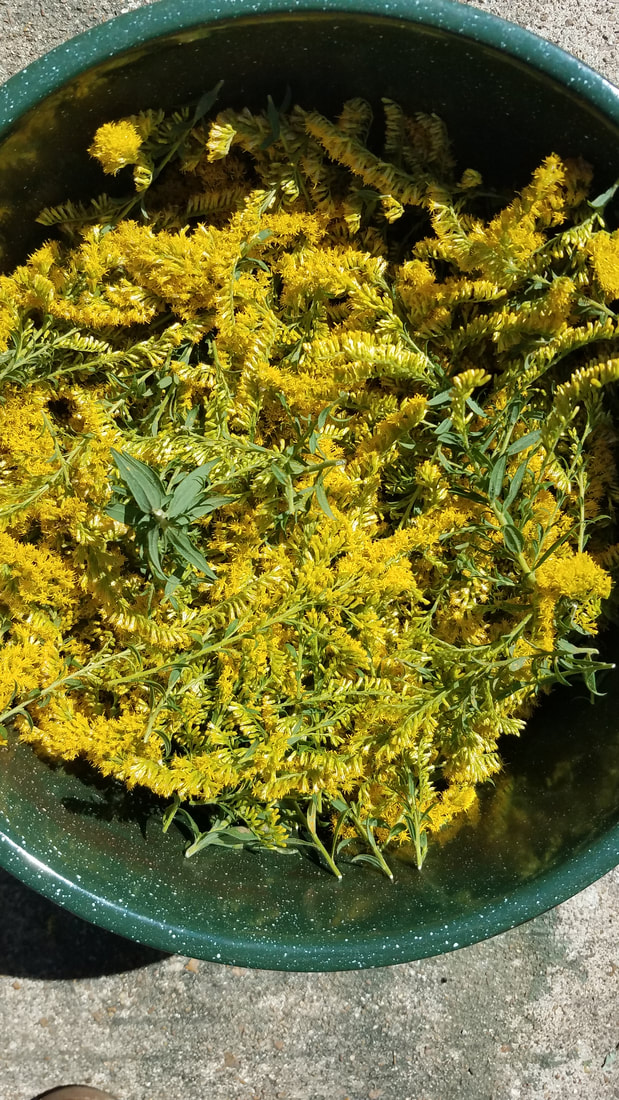
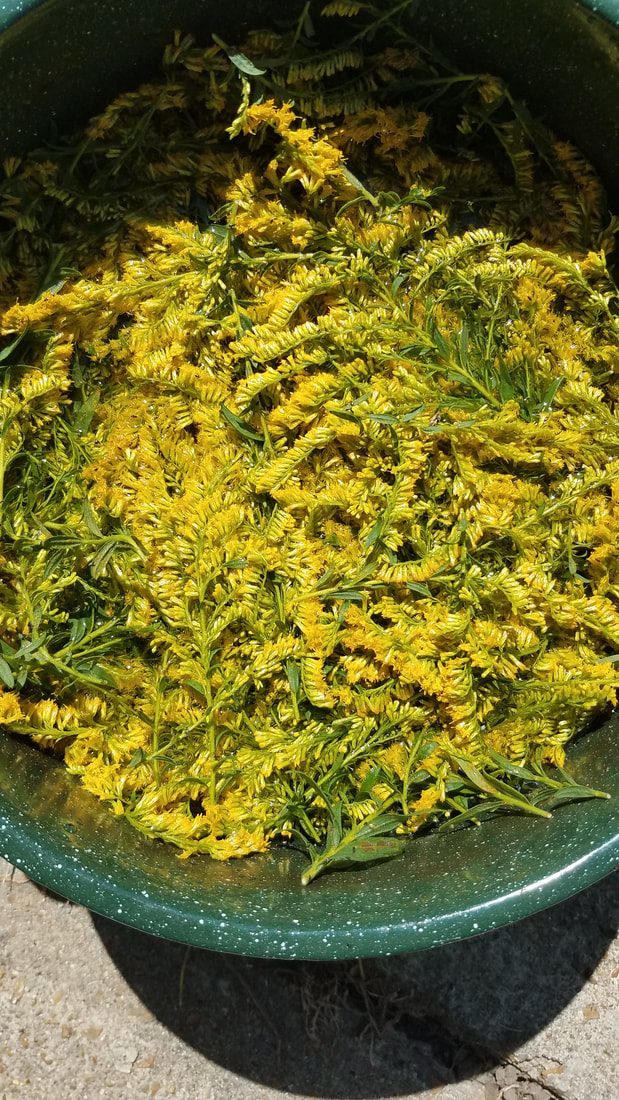
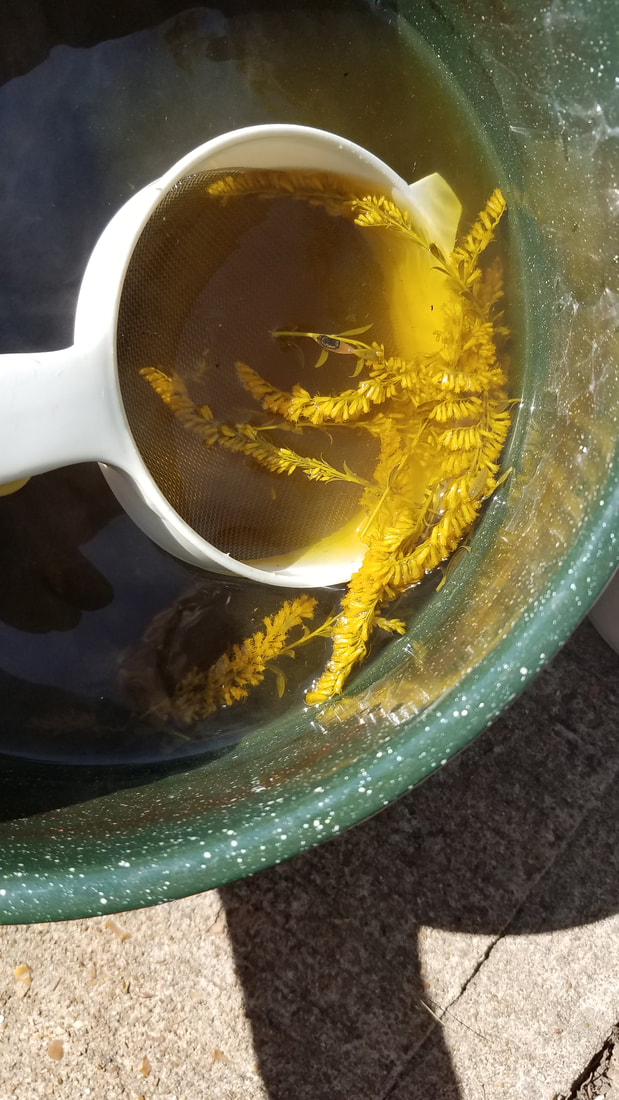
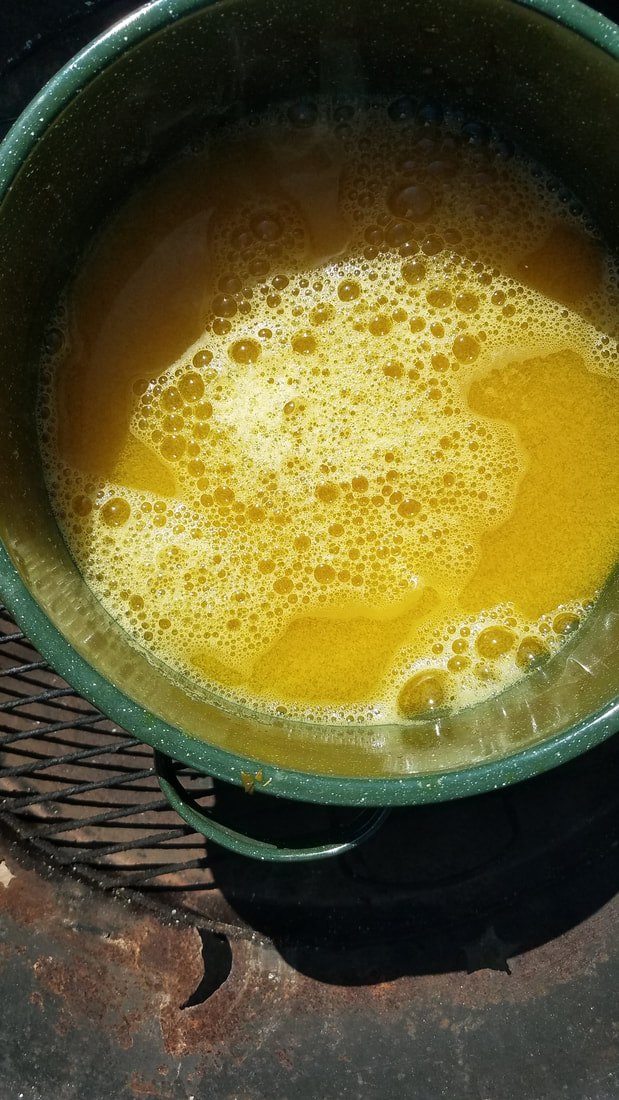
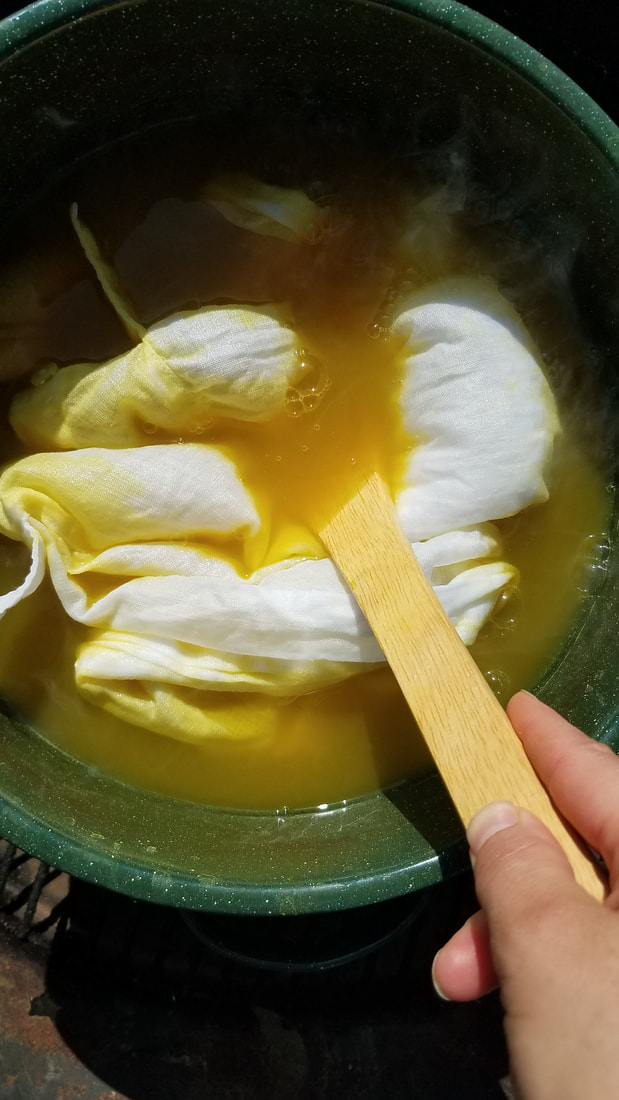
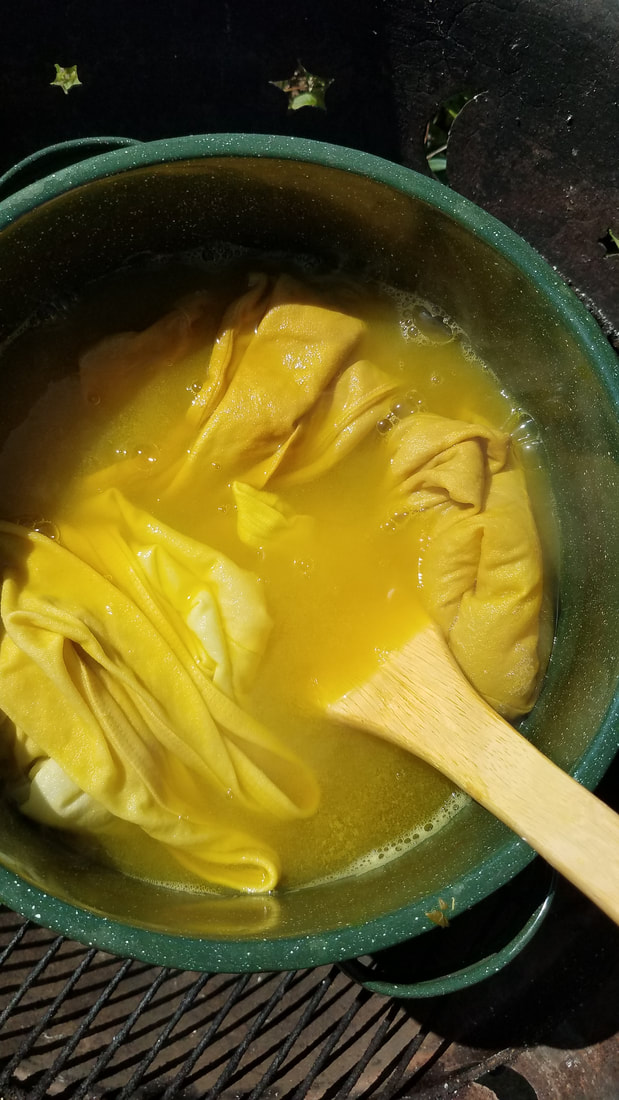
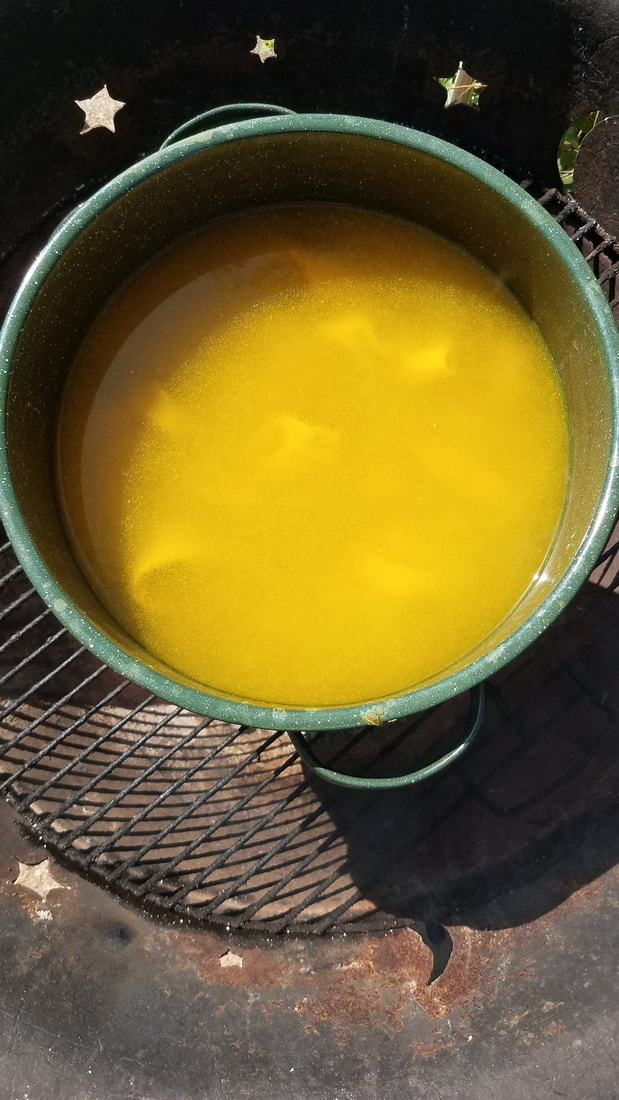
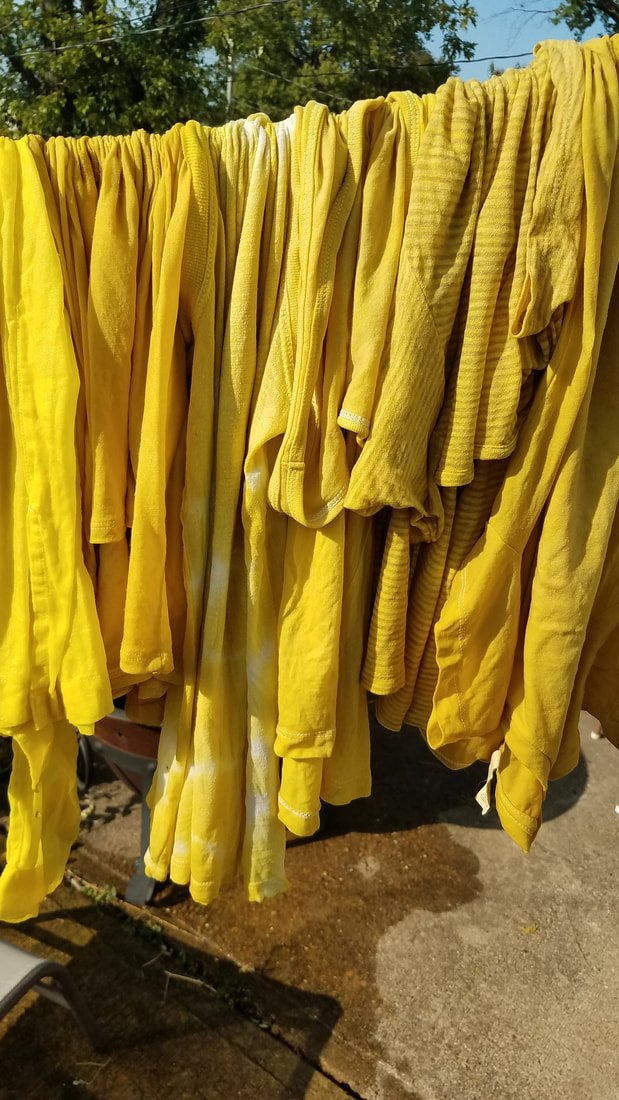
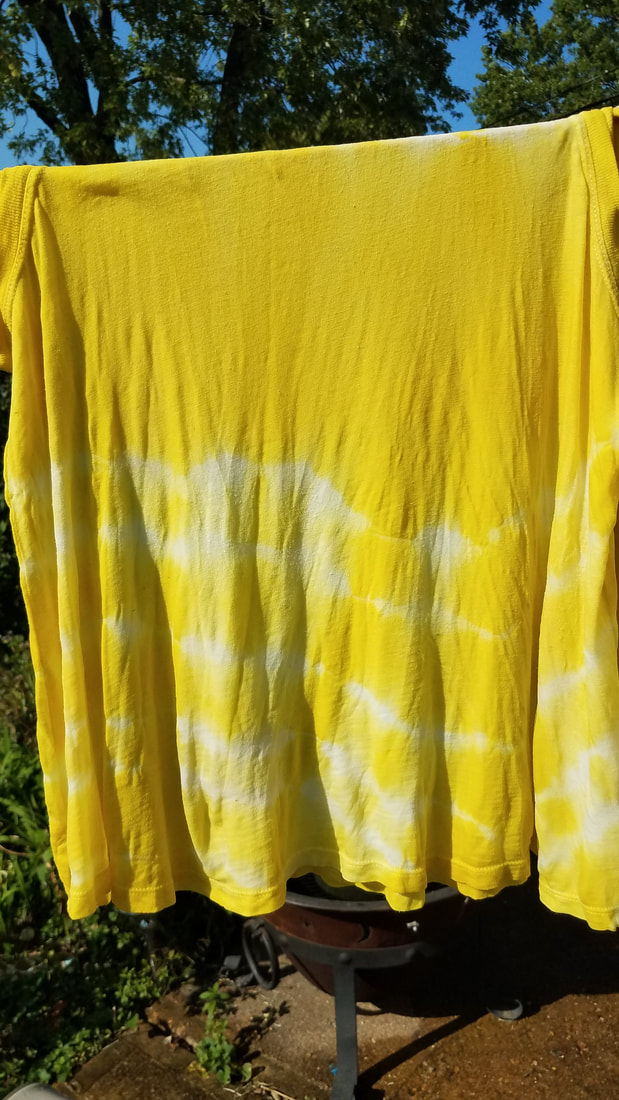
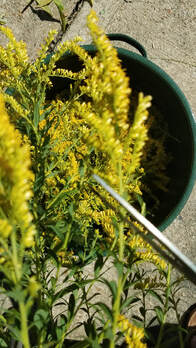 Goldenrods flowering tops light up the landscape with a bright yellow glow this time of year. Goldenrod is a versatile native North American herb, a beautiful late Summer blooming wildflower with many traditional uses. Goldenrod has been used as a medicinal herb, edible wild food source, and a nectary flower for pollinators. The flowering tops can also be used to make a beautiful dye to color fabric. Dyeing with goldenrod is a perfect introduction to dyeing with herbs, it is surprisingly easy, with satisfying results! It is easier than you might think! Here is a straightforward method for dyeing with goldenrod, that gives delightful results. This yellow flowered herb not only adds color to the landscape this time of year, it can also add color throughout the year as a dye to color clothing, bedding, dish towels, curtains and other fabrics around your household. Dyeing with goldenrod can result in two colors, yellow or green. The type of mordant you use determines the resulting color. The mordant is what makes the dye ‘stick’ to the fabric, mordant is an essential part of the natural dyeing process. Goldenrod and other natural plant dyes work best with natural fiber fabric such as cotton, wool, linen and silk. Synthetic fabrics such as polyester, will not take the dye. For yellow dye you need alum as the mordant (2 tbsp. to 2 gallons of water for dying approximately two garments). You can find Alum in the spice section of the grocery store, it is commonly used to keep crispness in canned food. Alum is a compound of hydrated double salts, usually consisting of aluminum sulfate, water of hydration, and the sulfate of another element. Pickling alum is usually potassium aluminum sulfate and is regarded as safe for use in food and cosmetic applications. For a sage/olive green you need iron solution (3 tbsp to 2 gallons of water). You can make an iron solution ahead of time with steel wool dissolved in pickling vinegar until there is no more solid sediment it takes about 1 week. Then you pour the solution through a fabric filter into a jar to use later, any leftover sediment will leave dark spots on the final fabric so straining it is a must. This project demonstrates the use of Alum to achieve yellow. If you are unsure which plant is Goldenrod watch this video for tips on correctly identifying Goldenrod in the wild. Collect the flowers by cutting the flowering tops – the brighter the yellow the better (color results are best at peak bloom). When harvesting from the wild always leave behind some flowers for the pollinators, never pull up the entire plant by the roots, just trim what you need. I like to place the flowering tops directing in the empty pot that I will use for dying, over filling it so I can easily see how much flowering tops I will need. A reusable shopping tote works great too especially if you are gathering blossoms in the wild. Gather an amount of goldenrod blossoms that is roughly equal to the amount of fabric you want to dye. The amount of flowering tops you need is roughly equal wet weight of plant material to weight of fabric you plan to dye i.e. 1 pound of plant matter to 1 pound of fabric. However I never actually weigh anything. I simply fill the pot with as much flowering tops as I can to make the dye. I then dye as much fabric at a time that will fit in the pot while still flowing freely in the dye bath that is about two pieces of clothing in my 2 gallons of dye. You will need a large pot made of stainless steel, glass or enamel coated metal to prevent unwanted chemical reactions. The pot should be large enough to hold the amount of plant material/fabric you intend to use. I use a enamel coated pot that holds 2 gallons of water and then some. Note that aluminum pots will alter the color of the dye – the alteration could be either beneficial or detrimental depending on the color you are going for. In the case of goldenrod, it would make the fabric have a tinge of green. Materials Needed: Natural fiber fabric such as cotton, wool, linen or silk Mordant of your choice: alum or iron solution Fresh Goldenrod flowering tops to fill your stock pot Non-reactive large pot, stainless steel, glass, or enamel, I use a large enamel coated metal pot A long spoon to stir the dye a wooden spoon works great Rubber bands for tie dying, if desired Clean rubber household gloves Clean bucket for straining and rinsing Strainer or Colander Directions: 1. Put your plant matter in the pot and fill it up with enough water to cover the plant matter. Bring to a Boil. Once boiling, bring down to simmer for 1 hour. At end of hour observe the color, if you want a stronger color add more plant material and simmer for another hour. 2. Allow the water to cool a bit , then strain. Strain the now yellow colored the water into a clean bucket through a mesh strainer or colander to thoroughly separate the plant material from the water. I also wear rubber gloves and scoop out the larger bits of flowers by hand, pressing and squeezing lightly. Please use caution, allowing the water to cool enough before putting your hands in the pot. 3. Rinse the pot, and put dye water back in pot. Compost the spent flowers. 4. Add your mordant to the water, for alum use 1 tablespoon per gallon of water, stir and simmer for 15 minutes so it fully dissolves and is distributed throughout the water. 5. Wet your fabric thoroughly and squeeze out the excess water. If you are tie dying apply the rubber bands in your desired pattern before wetting the fabric. I like to add a little shibori/tie dyed element to some of my fabrics, so I bind up various pieces with rubber bands to create the resist for a tie-dyed effect. 6. Place the fabric you wish to dye into the dyebath pot and simmer for 1 hour. Stir occasionally to keep the fabric free flowing. After 1 hour remove from heat, you can either let it sit in the dye bath until it cools or remove it right away and let it cool in your rinsed out bucket. 7. Rinse the cooled fabric in cold water until the water comes out clear. If you are satisfied with the color gently squeeze the water out (wringing can cause streaking in fabric). Hang the fabric to dry in the shade to avoid sun fading. 8. You can now repeat the dying process with more fabric if you wish, the color will become lighter as you go. I have used the same dyebath for three consecutive batches of fabric with beautiful results. 9. Once you are finished and the dye is exhausted it it safe to discard the dye by pouring it on the lawn, if you have acid loving plants such as hydrangeas, azaleas, blueberries, evergreens and common garden vegetables you can pour the water on their soil. Natural plant dyed fabrics tend to fade over time, so it is best to wash them on the gentle cycle in cold water with a natural plant based soap to extend life of the color. I tend to over dye the same piece the following year when goldenrod blossoms appear again to freshen up the color. If you’ve been wanting to try your hand at dyeing with plants, I hope this post inspires to jump in and try it! It can be easy, fun, rewarding, and addictive! Have you tried dyeing with goldenrod? I’d love to hear about it!
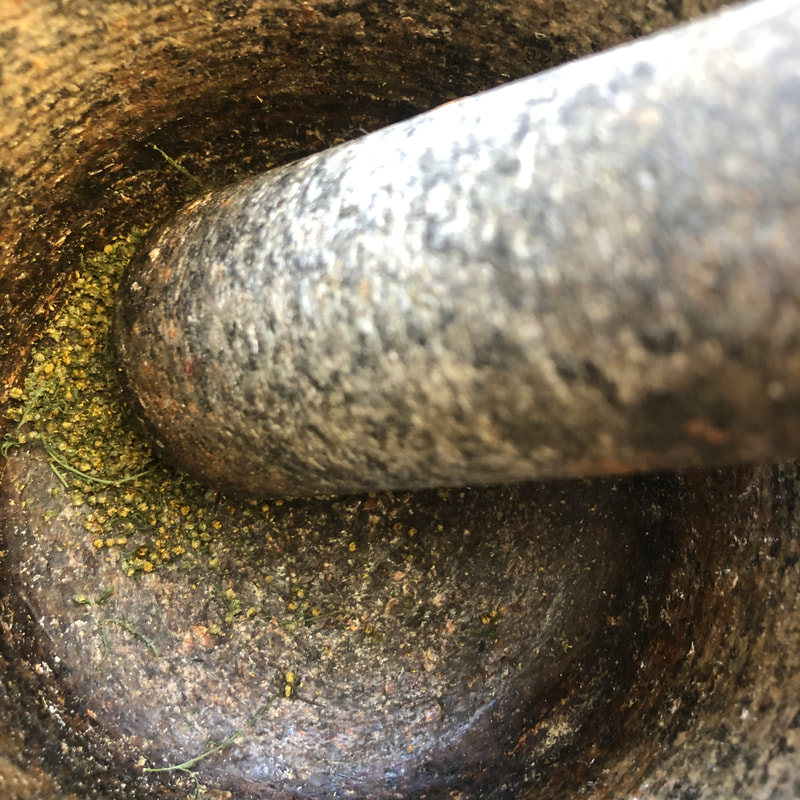
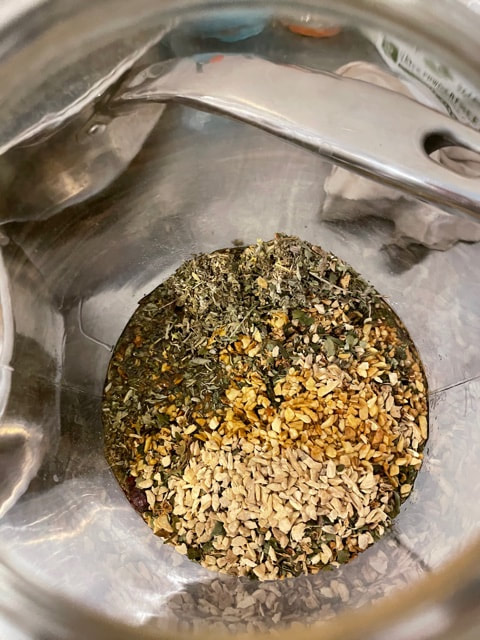
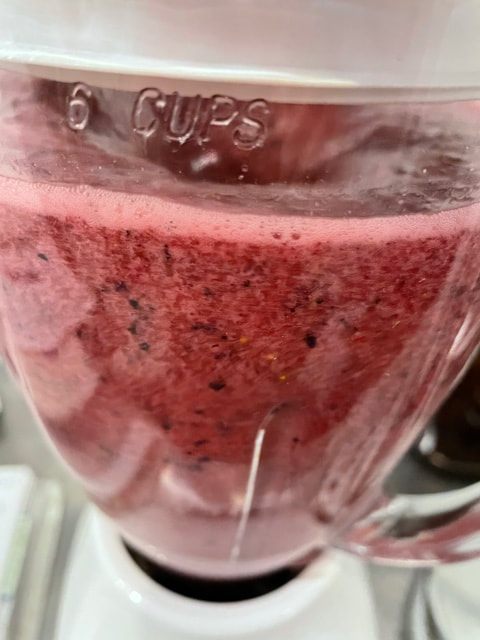
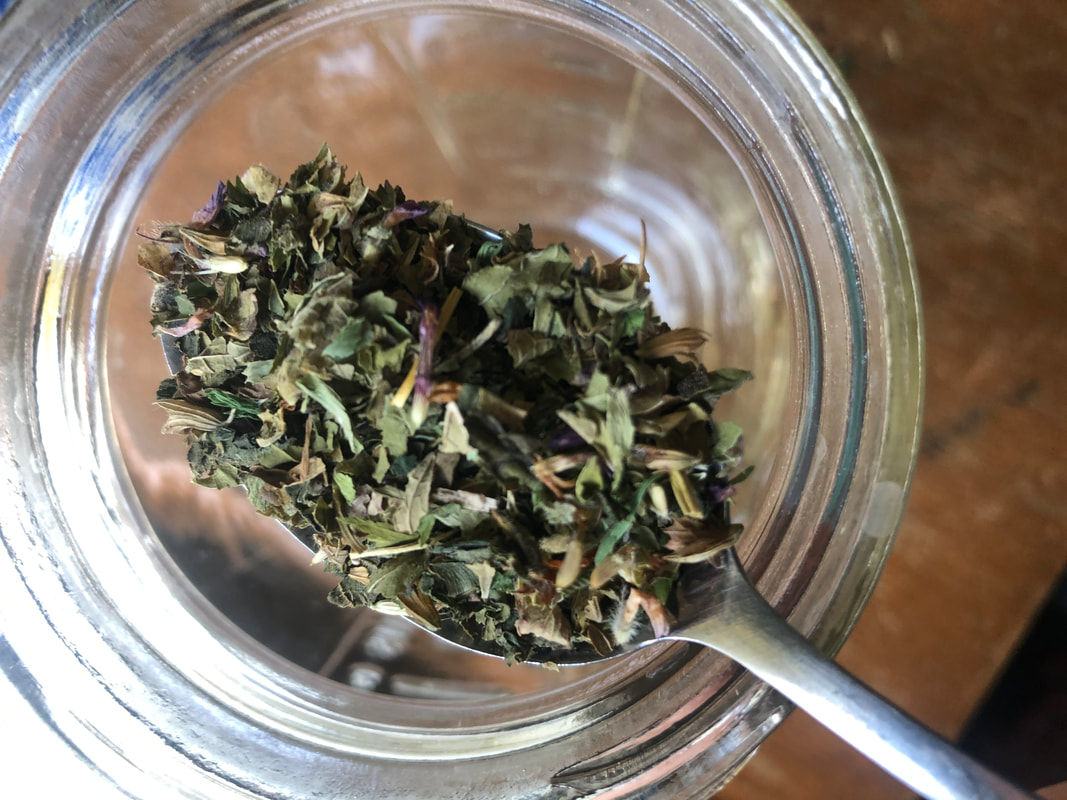
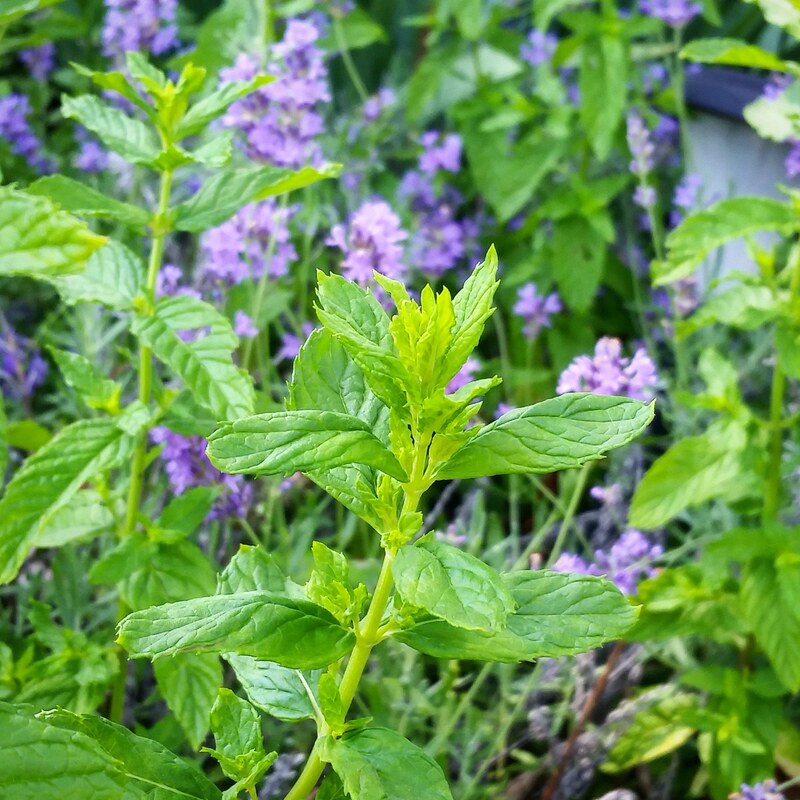
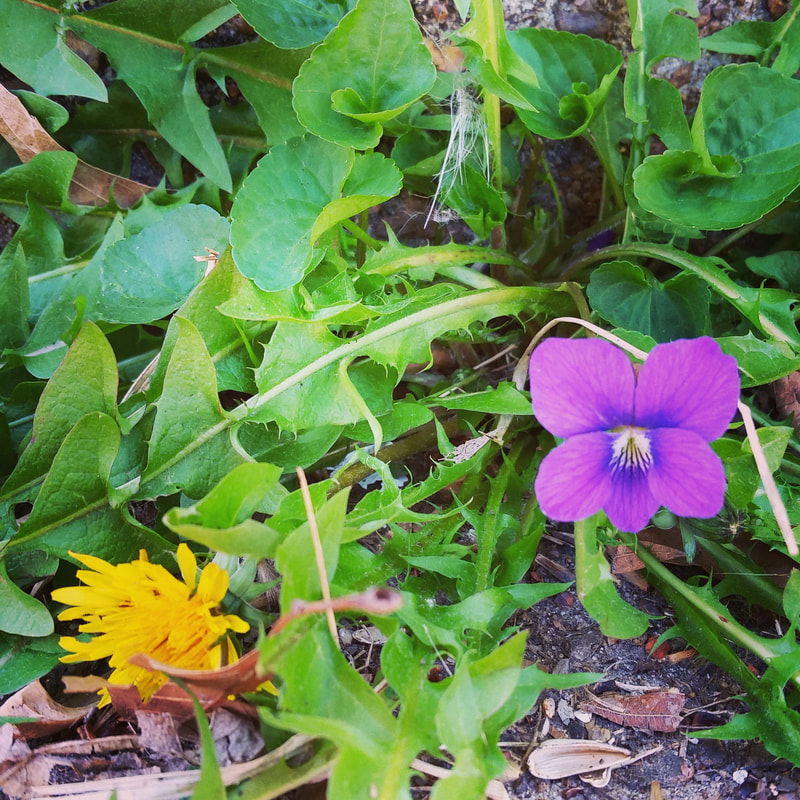
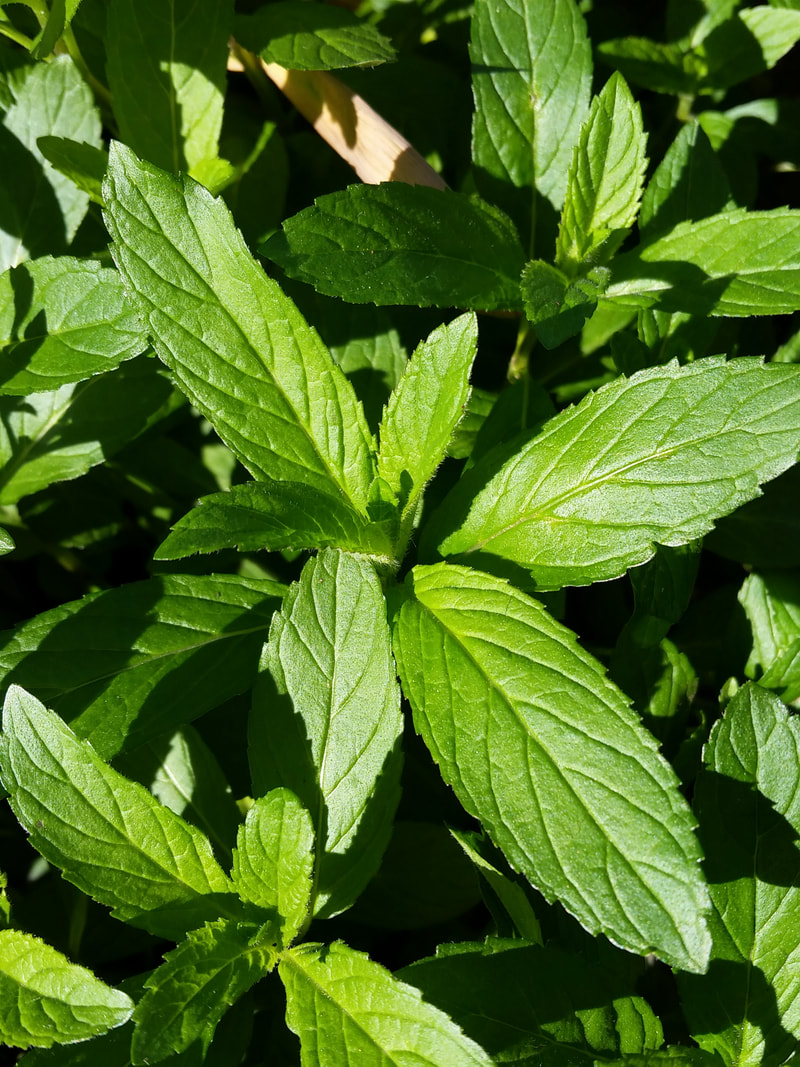
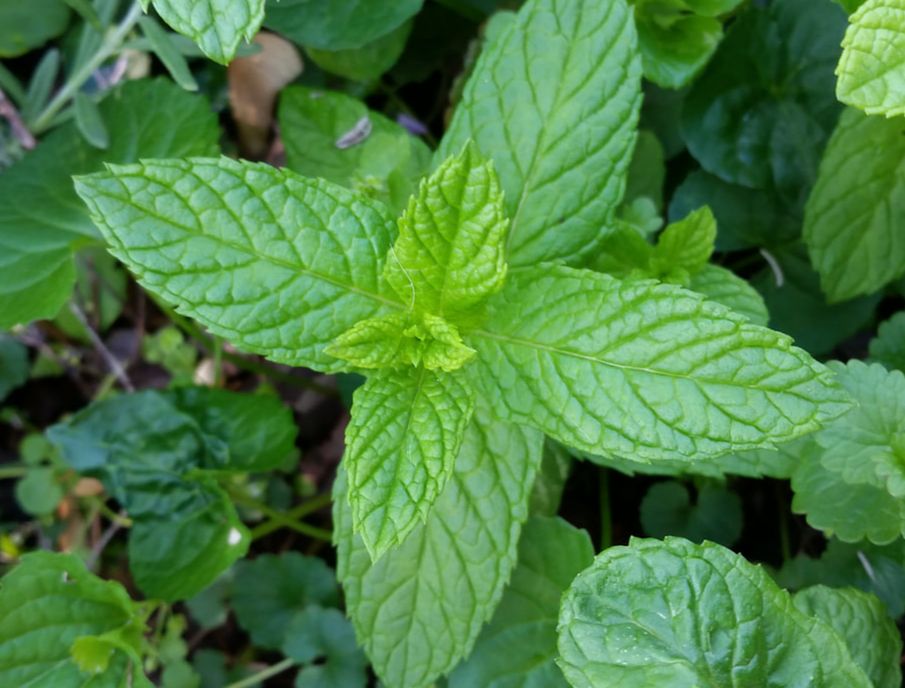 Spearmint Spring is the perfect time to get outside and enjoy all the fresh, green bounty springing up in our gardens. A simple activity to experience some of the aromatic and healthful plants in your garden is to make tea from freshly cut herbs. Making tea from freshly cut herbs from your own yard is an easy and rewarding task. Some of the most commonly used herbs are Peppermint and Spearmint. These herbs are extremely easy to grow and usually provide more than enough leaves for making tea many times throughout the season. But just about any herb you grow can be brewed into a delicious tea. Your yard may also already have delicious and nutritious wild herbs growing in it such as Wild Violet, Dandelion, Plantain, Stinging Nettle, Purslane, Chickweed and Cleavers. Common backyard "weeds" can also be foraged for delicious and healthy teas. If you choose to harvest wild herbs be sure to check a field guide for proper identification if you are unsure if the plant is safe to ingest. I never harvest plants that may have been treated with chemicals. Some of my favorites for fresh teas are Sage leaf, Chamomile flower, Rosemary leaf, Lemon Balm leaf, and of course Peppermint leaf. Starting with one herb as your primary flavor and throwing in a little bit of another herb can create an interesting tasting tea. For example start with mostly Peppermint leaves and add a bit of Sage leaves or try adding the petals from a rose or some Lavender buds. Herb teas made from fresh herbs tend to taste a bit weaker than those made from dried herbs. So, I usually gather more herb than I think I’ll need and then actually use all of it that way my tea will have the stronger flavor that I prefer. I suggest gathering enough herb to make at least a pot of tea (about 4-6 cups). It helps if you can take the same pot you’re going to brew your tea in (or a mason jar or bowl about the same size) out to the garden with you then cut enough herb to fill the pot about 3/4 full. If possible cut your herbs in the morning to ensure the best flavor. Easy steps for making your own herbal tea: 1.) Cut the stem off close to the ground leaving at least two sets of leaves on each stem so your plant will continue to grow or select only the tender new leaves at the top of the plant 2.) Avoid yellowish, bug eaten or spotted leaves 3.) Wash the herbs under cold water or dunk them into a sink of cold water and shake off excess water 4.) Remove the leaves from the stems for the best flavor and put them in a pot 5.) Pour boiling water over the herbs to just covering the herb 6.) Use a long spoon to carefully bruise the herb by pressing the spoon into the herb against the sides of the pot 7.) Place a lid on the pot and let steep for up to a half hour 8.) Strain the tea through a mesh strainer, cheesecloth or colander 9.) Pour into a container of storage: stainless steel, ceramic and glass are preferable glass mason jars are a great option 10.) Chill and enjoy A pot of tea can be refrigerated for about five days. 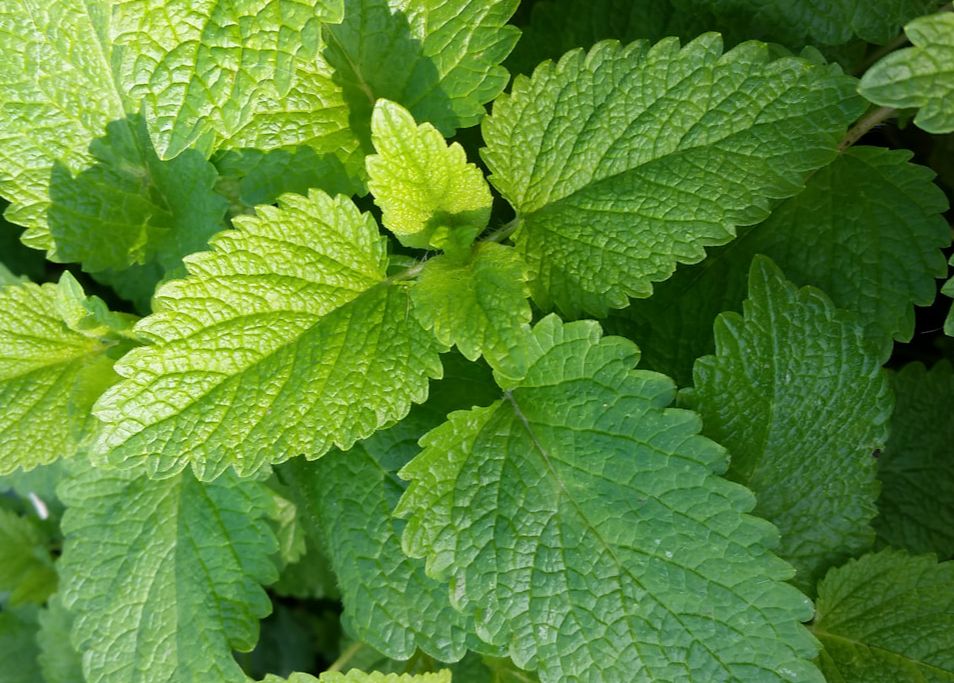 Lemon Balm Lemon Balm
|
AuthorMaria and Ingrid are Co Owners of STL Herbs and Aromatics. They have been working in the field of Herbal and Aromatic Medicine for over twenty years. This blog is intended to inform and empower people to begin utilizing plant medicine for personal health and well being. Archives
December 2023
The products and statements made about specific products on this web site have not been evaluated by the United States Food and Drug Administration (FDA) and are not intended to diagnose, treat, cure or prevent disease. All information provided on this web site or any information contained on or in any product label or packaging is for informational purposes only and is not intended as a substitute for advice from your physician or other health care professional. You should not use the information on this web site for diagnosis or treatment of any health problem. Always consult with a healthcare professional before starting any new vitamins, supplements, diet, or exercise program, before taking any medication, or if you have or suspect you might have a health problem. Any testimonials on this web site are based on individual results and do not constitute a guarantee that you will achieve the same results.
|


 RSS Feed