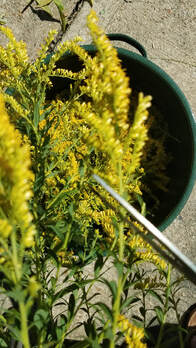
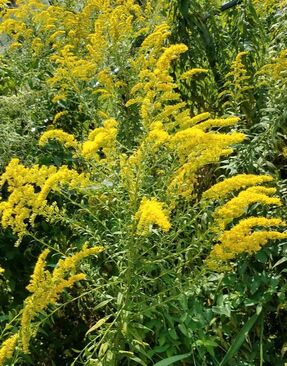
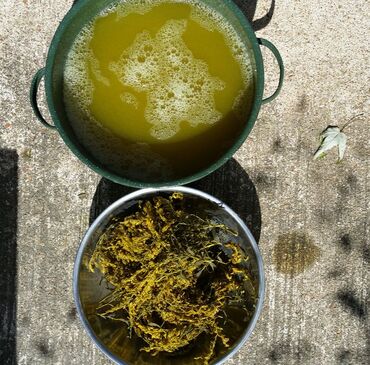
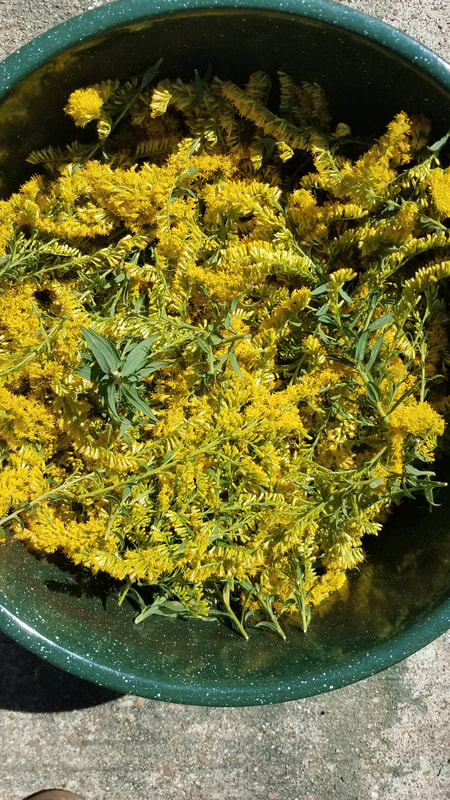
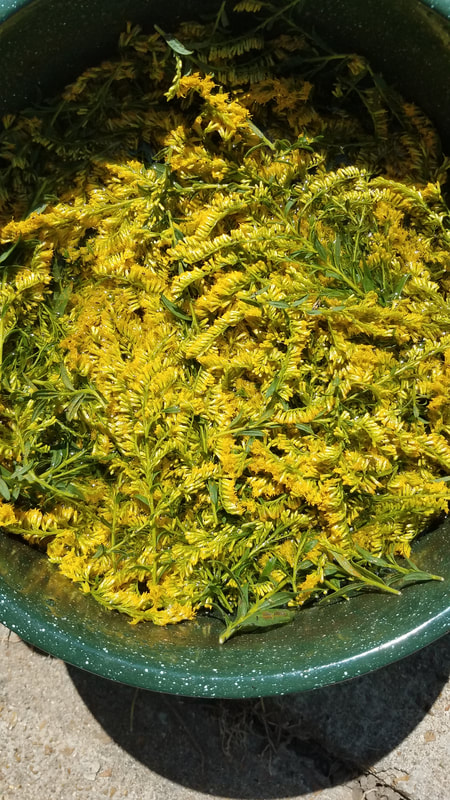
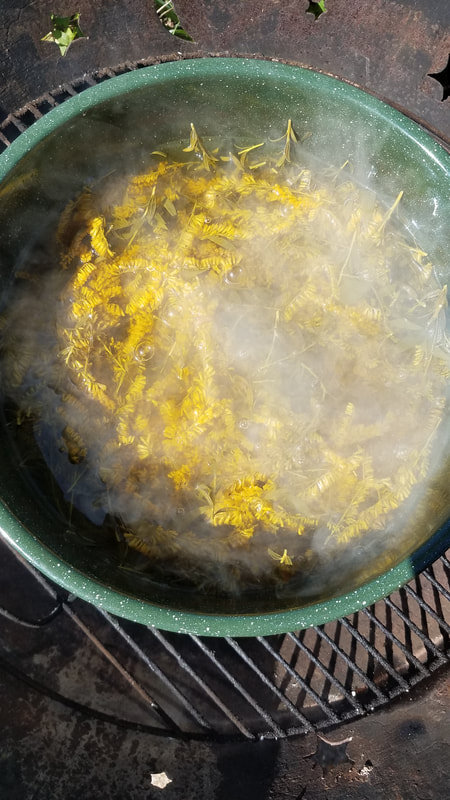
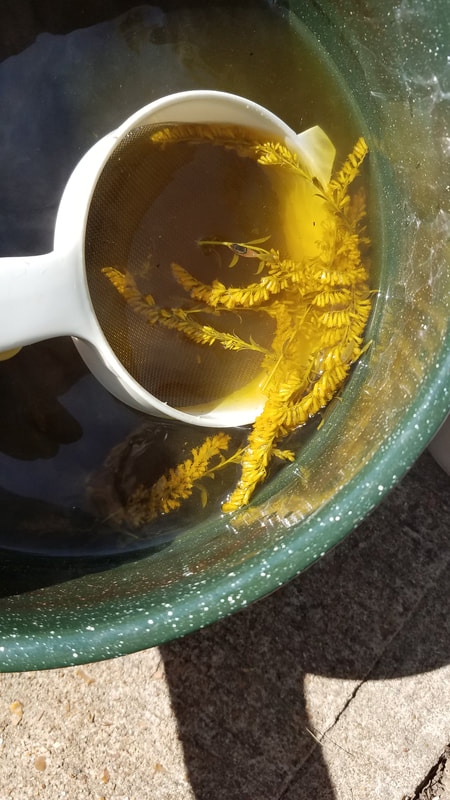
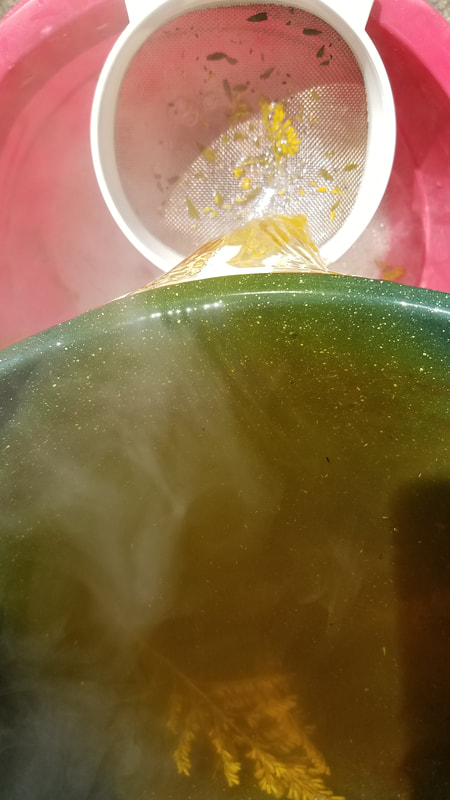
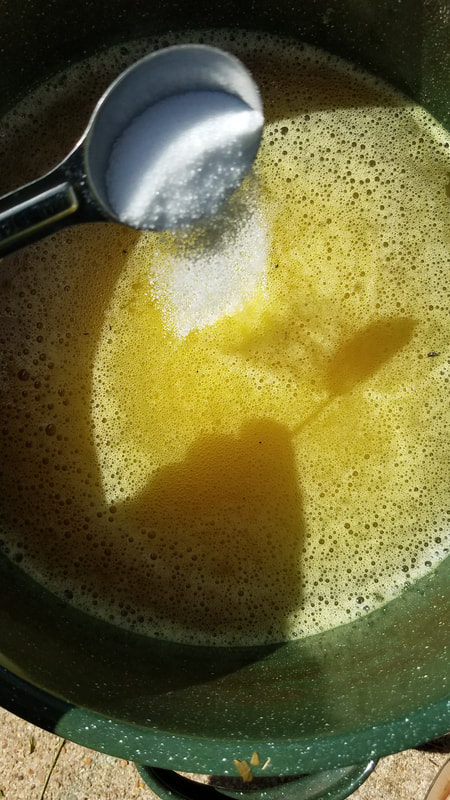
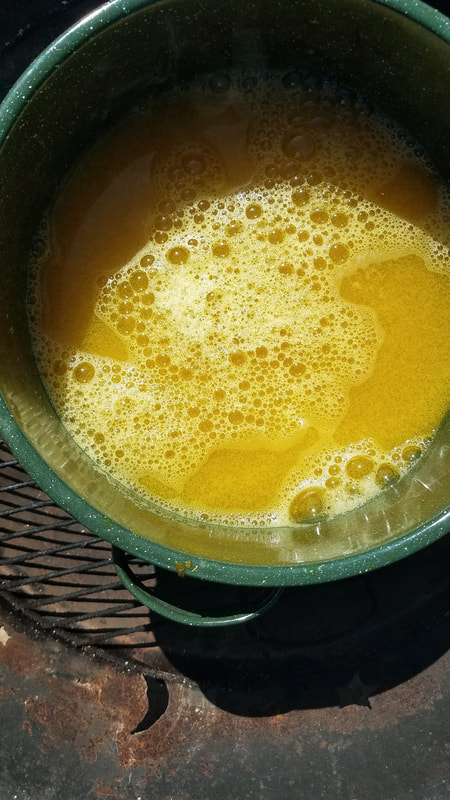
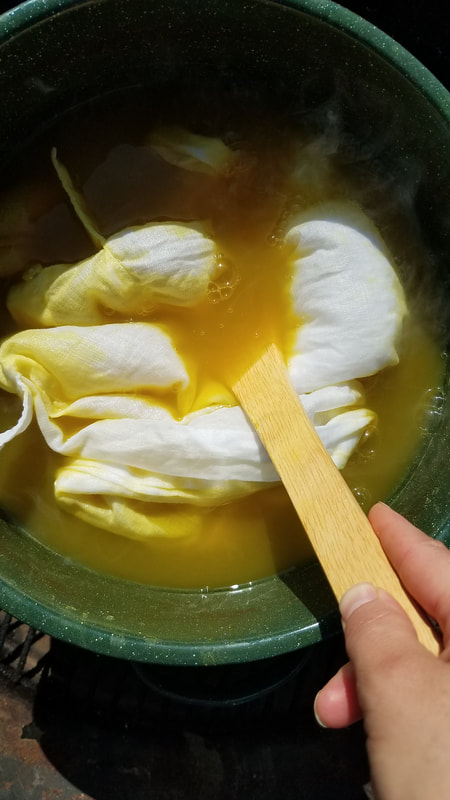
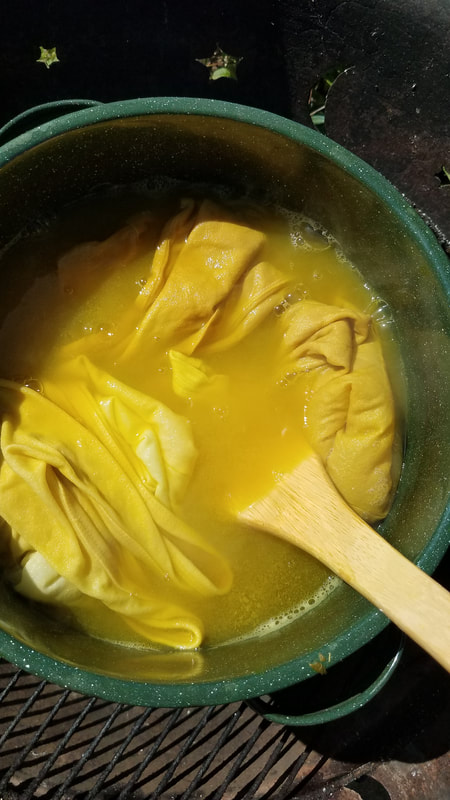
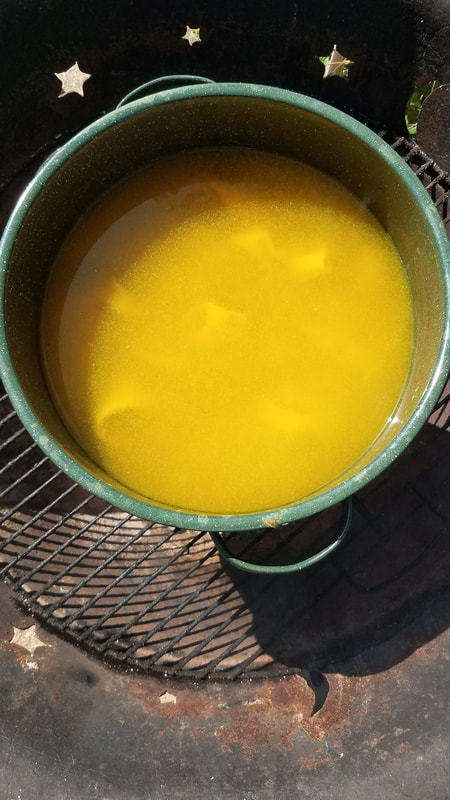
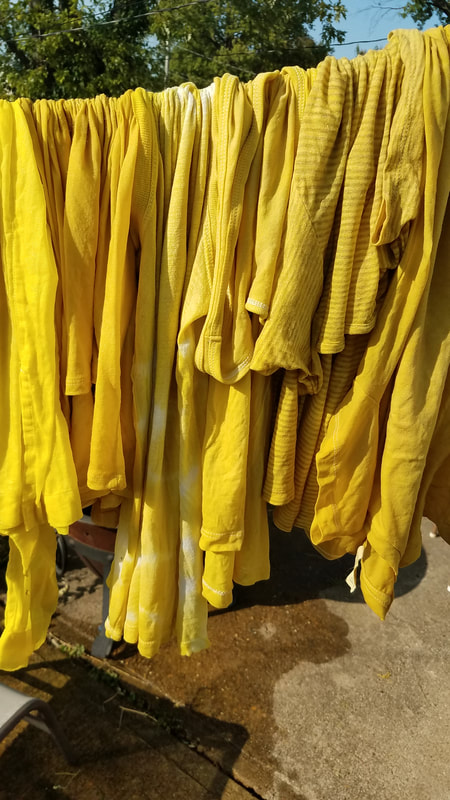
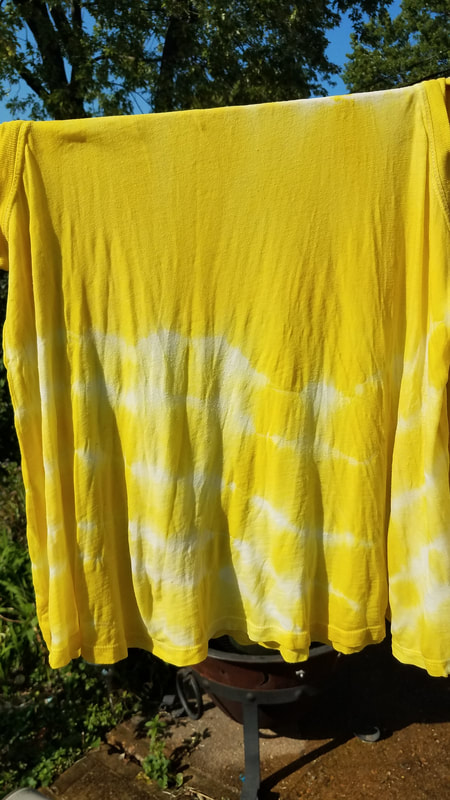
 Goldenrods flowering tops light up the landscape with a bright yellow glow this time of year. Goldenrod is a versatile native North American herb, a beautiful late Summer blooming wildflower with many traditional uses. Goldenrod has been used as a medicinal herb, edible wild food source, and a nectary flower for pollinators. The flowering tops can also be used to make a beautiful dye to color fabric. Dyeing with goldenrod is a perfect introduction to dyeing with herbs, it is surprisingly easy, with satisfying results! It is easier than you might think! Here is a straightforward method for dyeing with goldenrod, that gives delightful results. This yellow flowered herb not only adds color to the landscape this time of year, it can also add color throughout the year as a dye to color clothing, bedding, dish towels, curtains and other fabrics around your household. Dyeing with goldenrod can result in two colors, yellow or green. The type of mordant you use determines the resulting color. The mordant is what makes the dye ‘stick’ to the fabric, mordant is an essential part of the natural dyeing process. Goldenrod and other natural plant dyes work best with natural fiber fabric such as cotton, wool, linen and silk. Synthetic fabrics such as polyester, will not take the dye. For yellow dye you need alum as the mordant (2 tbsp. to 2 gallons of water for dying approximately two garments). You can find Alum in the spice section of the grocery store, it is commonly used to keep crispness in canned food. Alum is a compound of hydrated double salts, usually consisting of aluminum sulfate, water of hydration, and the sulfate of another element. Pickling alum is usually potassium aluminum sulfate and is regarded as safe for use in food and cosmetic applications. For a sage/olive green you need iron solution (3 tbsp to 2 gallons of water). You can make an iron solution ahead of time with steel wool dissolved in pickling vinegar until there is no more solid sediment it takes about 1 week. Then you pour the solution through a fabric filter into a jar to use later, any leftover sediment will leave dark spots on the final fabric so straining it is a must. This project demonstrates the use of Alum to achieve yellow. If you are unsure which plant is Goldenrod watch this video for tips on correctly identifying Goldenrod in the wild. Collect the flowers by cutting the flowering tops – the brighter the yellow the better (color results are best at peak bloom). When harvesting from the wild always leave behind some flowers for the pollinators, never pull up the entire plant by the roots, just trim what you need. I like to place the flowering tops directing in the empty pot that I will use for dying, over filling it so I can easily see how much flowering tops I will need. A reusable shopping tote works great too especially if you are gathering blossoms in the wild. Gather an amount of goldenrod blossoms that is roughly equal to the amount of fabric you want to dye. The amount of flowering tops you need is roughly equal wet weight of plant material to weight of fabric you plan to dye i.e. 1 pound of plant matter to 1 pound of fabric. However I never actually weigh anything. I simply fill the pot with as much flowering tops as I can to make the dye. I then dye as much fabric at a time that will fit in the pot while still flowing freely in the dye bath that is about two pieces of clothing in my 2 gallons of dye. You will need a large pot made of stainless steel, glass or enamel coated metal to prevent unwanted chemical reactions. The pot should be large enough to hold the amount of plant material/fabric you intend to use. I use a enamel coated pot that holds 2 gallons of water and then some. Note that aluminum pots will alter the color of the dye – the alteration could be either beneficial or detrimental depending on the color you are going for. In the case of goldenrod, it would make the fabric have a tinge of green. Materials Needed: Natural fiber fabric such as cotton, wool, linen or silk Mordant of your choice: alum or iron solution Fresh Goldenrod flowering tops to fill your stock pot Non-reactive large pot, stainless steel, glass, or enamel, I use a large enamel coated metal pot A long spoon to stir the dye a wooden spoon works great Rubber bands for tie dying, if desired Clean rubber household gloves Clean bucket for straining and rinsing Strainer or Colander Directions: 1. Put your plant matter in the pot and fill it up with enough water to cover the plant matter. Bring to a Boil. Once boiling, bring down to simmer for 1 hour. At end of hour observe the color, if you want a stronger color add more plant material and simmer for another hour. 2. Allow the water to cool a bit , then strain. Strain the now yellow colored the water into a clean bucket through a mesh strainer or colander to thoroughly separate the plant material from the water. I also wear rubber gloves and scoop out the larger bits of flowers by hand, pressing and squeezing lightly. Please use caution, allowing the water to cool enough before putting your hands in the pot. 3. Rinse the pot, and put dye water back in pot. Compost the spent flowers. 4. Add your mordant to the water, for alum use 1 tablespoon per gallon of water, stir and simmer for 15 minutes so it fully dissolves and is distributed throughout the water. 5. Wet your fabric thoroughly and squeeze out the excess water. If you are tie dying apply the rubber bands in your desired pattern before wetting the fabric. I like to add a little shibori/tie dyed element to some of my fabrics, so I bind up various pieces with rubber bands to create the resist for a tie-dyed effect. 6. Place the fabric you wish to dye into the dyebath pot and simmer for 1 hour. Stir occasionally to keep the fabric free flowing. After 1 hour remove from heat, you can either let it sit in the dye bath until it cools or remove it right away and let it cool in your rinsed out bucket. 7. Rinse the cooled fabric in cold water until the water comes out clear. If you are satisfied with the color gently squeeze the water out (wringing can cause streaking in fabric). Hang the fabric to dry in the shade to avoid sun fading. 8. You can now repeat the dying process with more fabric if you wish, the color will become lighter as you go. I have used the same dyebath for three consecutive batches of fabric with beautiful results. 9. Once you are finished and the dye is exhausted it it safe to discard the dye by pouring it on the lawn, if you have acid loving plants such as hydrangeas, azaleas, blueberries, evergreens and common garden vegetables you can pour the water on their soil. Natural plant dyed fabrics tend to fade over time, so it is best to wash them on the gentle cycle in cold water with a natural plant based soap to extend life of the color. I tend to over dye the same piece the following year when goldenrod blossoms appear again to freshen up the color. If you’ve been wanting to try your hand at dyeing with plants, I hope this post inspires to jump in and try it! It can be easy, fun, rewarding, and addictive! Have you tried dyeing with goldenrod? I’d love to hear about it!
1 Comment
Nathalia
10/8/2020 11:24:39 am
Wow! This process is much easier that I anticipated. Thank you for the detailed description. All questions I had where answered in the post. I have my hands full with projects right now but plan on trying this next season :)
Reply
Leave a Reply. |
AuthorMaria and Ingrid are Co Owners of STL Herbs and Aromatics. They have been working in the field of Herbal and Aromatic Medicine for over twenty years. This blog is intended to inform and empower people to begin utilizing plant medicine for personal health and well being. Archives
December 2023
The products and statements made about specific products on this web site have not been evaluated by the United States Food and Drug Administration (FDA) and are not intended to diagnose, treat, cure or prevent disease. All information provided on this web site or any information contained on or in any product label or packaging is for informational purposes only and is not intended as a substitute for advice from your physician or other health care professional. You should not use the information on this web site for diagnosis or treatment of any health problem. Always consult with a healthcare professional before starting any new vitamins, supplements, diet, or exercise program, before taking any medication, or if you have or suspect you might have a health problem. Any testimonials on this web site are based on individual results and do not constitute a guarantee that you will achieve the same results.
|
 RSS Feed